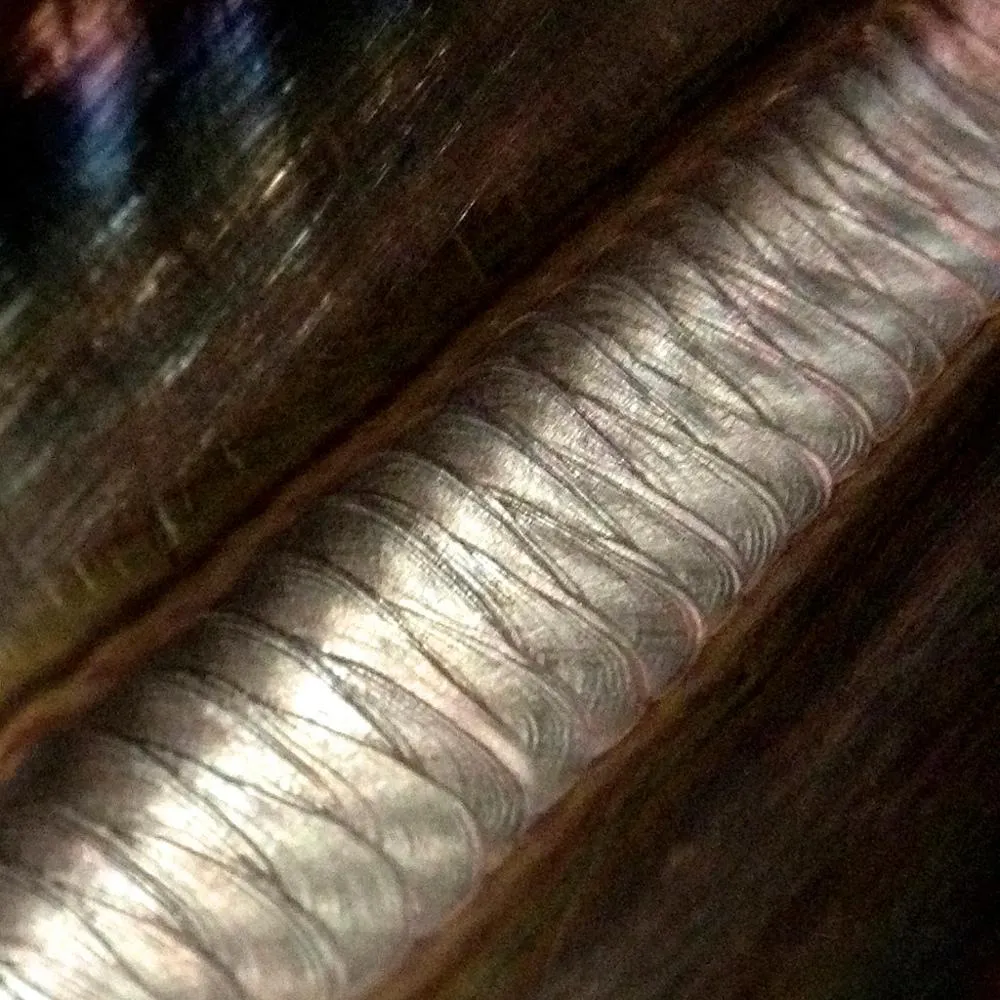
What is Diecast Metal?
Diecast metal refers to metal components produced through the die-casting process. This process involves injecting molten metal under high pressure into a mold or die. The resulting parts are known for their intricate shapes, dimensional accuracy, and smooth surfaces. Diecast metals are widely used in various industries, including automotive, aerospace, and consumer electronics, due to their versatility and ability to create complex designs efficiently. Common examples of diecast parts include engine components, housings for electronics, and various other mechanical parts. Understanding the characteristics of diecast metal is crucial before attempting to weld it, as the process can be challenging due to the metal’s composition and potential for porosity.
Composition of Diecast Metal
The composition of diecast metal significantly influences its weldability. Common diecast metals include aluminum, zinc, magnesium, and alloys of these metals. Aluminum diecast parts often contain silicon, which can affect the weld pool’s fluidity and increase the risk of porosity. Zinc diecast parts are generally considered difficult to weld due to zinc’s low melting point and tendency to vaporize, leading to poor weld quality. Magnesium diecast alloys are also challenging, requiring careful control of welding parameters to prevent oxidation and cracking. The presence of other elements, such as copper and iron, can further complicate the welding process. It is essential to identify the specific alloy used in the diecast part before welding to select the appropriate welding process and parameters.
Why is Diecast Welding Difficult?
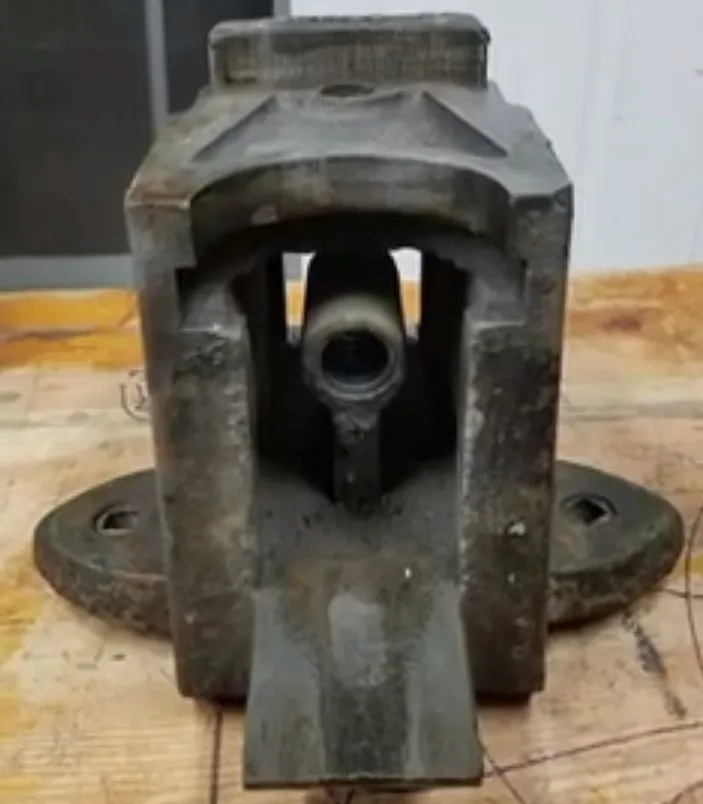
Welding diecast metal presents several challenges. One of the primary difficulties is the potential for porosity. Porosity, or the presence of gas pockets within the weld, can weaken the weld joint and compromise its integrity. This issue often arises due to the presence of trapped gases or contaminants in the diecast material. Another challenge is the risk of cracking. Diecast metals are susceptible to cracking, especially if subjected to rapid heating and cooling cycles during welding. The difference in thermal expansion and contraction between the weld and the base metal can create stress, leading to cracks. The low melting points of some diecast alloys can also make it difficult to achieve a strong weld without melting the base metal excessively. Furthermore, the presence of surface contaminants, such as oils and oxides, can further hinder the welding process, making it crucial to have thorough preparation.
Challenges in Welding Diecast
Welding diecast presents a set of specific challenges, including the high likelihood of porosity, where gas bubbles form within the weld, compromising its strength. The alloys used are often prone to cracking due to thermal stress. The low melting point of some diecast metals adds to the difficulty, as it’s easy to melt the base metal excessively. Contamination on the surface, like oils or oxides, further complicates the process. The precise control of heat input is critical to avoid these issues and to ensure a successful weld. Careful selection of welding parameters and pre-weld preparations are vital steps to overcome these obstacles and achieve acceptable results.
Surface Preparation for Welding Diecast
Effective surface preparation is essential for successful diecast welding. The first step involves thoroughly cleaning the area to be welded. Removing any contaminants, such as oils, grease, paint, and corrosion products, is critical for ensuring a sound weld. This can be achieved through various methods, including degreasing with solvents, wire brushing, or abrasive blasting. It is also important to remove any existing oxides from the surface, as these can prevent proper fusion of the weld metal. Depending on the specific diecast alloy, additional preparation steps, such as applying a flux, might be necessary. Proper surface preparation reduces the risk of porosity, cracking, and other weld defects, thereby enhancing the overall quality of the weld.
Cleaning the Diecast Surface
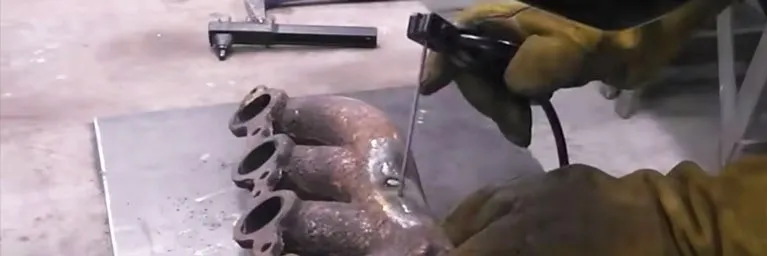
Cleaning the diecast surface is an important step in the welding preparation process, as contaminants can negatively impact the weld quality. Begin by degreasing the surface to remove oils, grease, and other organic materials using a suitable solvent cleaner. Following degreasing, employ a wire brush or abrasive pad to eliminate any surface oxidation, corrosion products, or paint. For parts with heavy oxidation or surface contaminants, consider abrasive blasting to create a clean and uniform surface. Make sure to select an appropriate abrasive that does not excessively damage the diecast material. After cleaning, it is imperative to handle the part with clean gloves to prevent re-contamination of the prepared surface prior to welding.
Choosing the Right Welding Process for Diecast
The selection of the appropriate welding process is crucial for achieving a successful weld on diecast metal. Two of the most commonly used processes for welding diecast are Gas Tungsten Arc Welding (GTAW), commonly known as TIG welding, and Gas Metal Arc Welding (GMAW), commonly known as MIG welding. TIG welding offers precise control over heat input, making it ideal for intricate or thin-walled diecast parts. MIG welding is often faster and more efficient, suitable for thicker sections or large-scale repairs. The choice between TIG and MIG depends on factors such as the material type, part thickness, and the required weld quality. Consideration should also be given to the welder’s skill and experience with each process. Both methods require careful selection of welding parameters, including current, voltage, and shielding gas, to prevent defects like porosity and cracking.
TIG Welding for Diecast
TIG welding is frequently favored for diecast repair due to the precise control over heat input, resulting in minimal distortion and reduced risk of porosity. This method employs a non-consumable tungsten electrode to create the arc, while a shielding gas, typically argon, protects the weld pool from atmospheric contamination. Begin by thoroughly cleaning the diecast surface. Then, select the appropriate filler metal, often an alloy similar to the base metal. Set up the welding machine with the recommended parameters for the specific diecast alloy and thickness. Start with a low amperage setting and gradually increase it until a stable arc is achieved. Move the torch slowly and steadily, focusing on proper fusion of the weld metal and the base material. Control the heat input to prevent excessive melting and to minimize the formation of porosity. Allow the welded part to cool gradually to reduce stress and prevent cracking. TIG welding demands skill and patience but delivers high-quality results when applied correctly.
MIG Welding for Diecast
MIG welding presents a more efficient option for diecast welding, particularly for thicker sections and larger repairs. In this process, a continuously fed wire electrode acts as the filler metal, while a shielding gas, usually argon or a mixture of argon and carbon dioxide, protects the weld. Start by preparing the diecast surface, just as you would for TIG welding. Select the correct filler wire, matching it to the base metal’s composition. Set the welding machine with appropriate voltage, wire feed speed, and shielding gas flow rate. Aim for a stable arc and adjust settings to achieve proper weld penetration without excessive heat input. Move the welding torch steadily along the joint, ensuring thorough fusion. For optimal results, use a pulsed MIG welding setting to minimize heat input and reduce the chances of porosity and cracking. Careful control over heat input and welding parameters is essential for MIG welding diecast metal successfully, along with proper surface preparation.
Other Welding Methods Considerations
While TIG and MIG welding are the most common methods for diecast, other welding methods may be considered in specific situations. Brazing, a joining process that uses a filler metal with a lower melting point than the base metal, can be an alternative, especially for dissimilar metal joints or where high temperatures are undesirable. However, brazing often results in a weaker joint compared to welding. Laser welding, which provides precise heat control, is another option, but it typically requires specialized equipment and expertise, thus, it is best suited for high-precision applications. Choosing the appropriate welding method depends on the specific application requirements, the type of diecast metal, and the available resources. The welder should carefully evaluate the advantages and disadvantages of each method, including factors such as cost, equipment availability, and required skill levels before making a decision.
Step-by-Step Guide to Welding Diecast
Welding diecast metal is a process that requires careful preparation, precise execution, and attention to detail. Following a step-by-step guide can help ensure a successful weld. Before starting, gather all necessary equipment, including the welding machine, filler metal, shielding gas, cleaning tools, and safety gear. Identify the diecast material type and select the appropriate welding process and parameters. Thoroughly prepare the surface to be welded by cleaning it to remove any contaminants. Then, proceed with the welding process, carefully controlling the heat input, and ensuring proper fusion. After welding, allow the part to cool slowly and inspect the weld for any defects. Following a structured approach can increase the chances of a strong and durable weld, which extends the lifespan of the diecast part.
Step 1 Preparing the Diecast Part
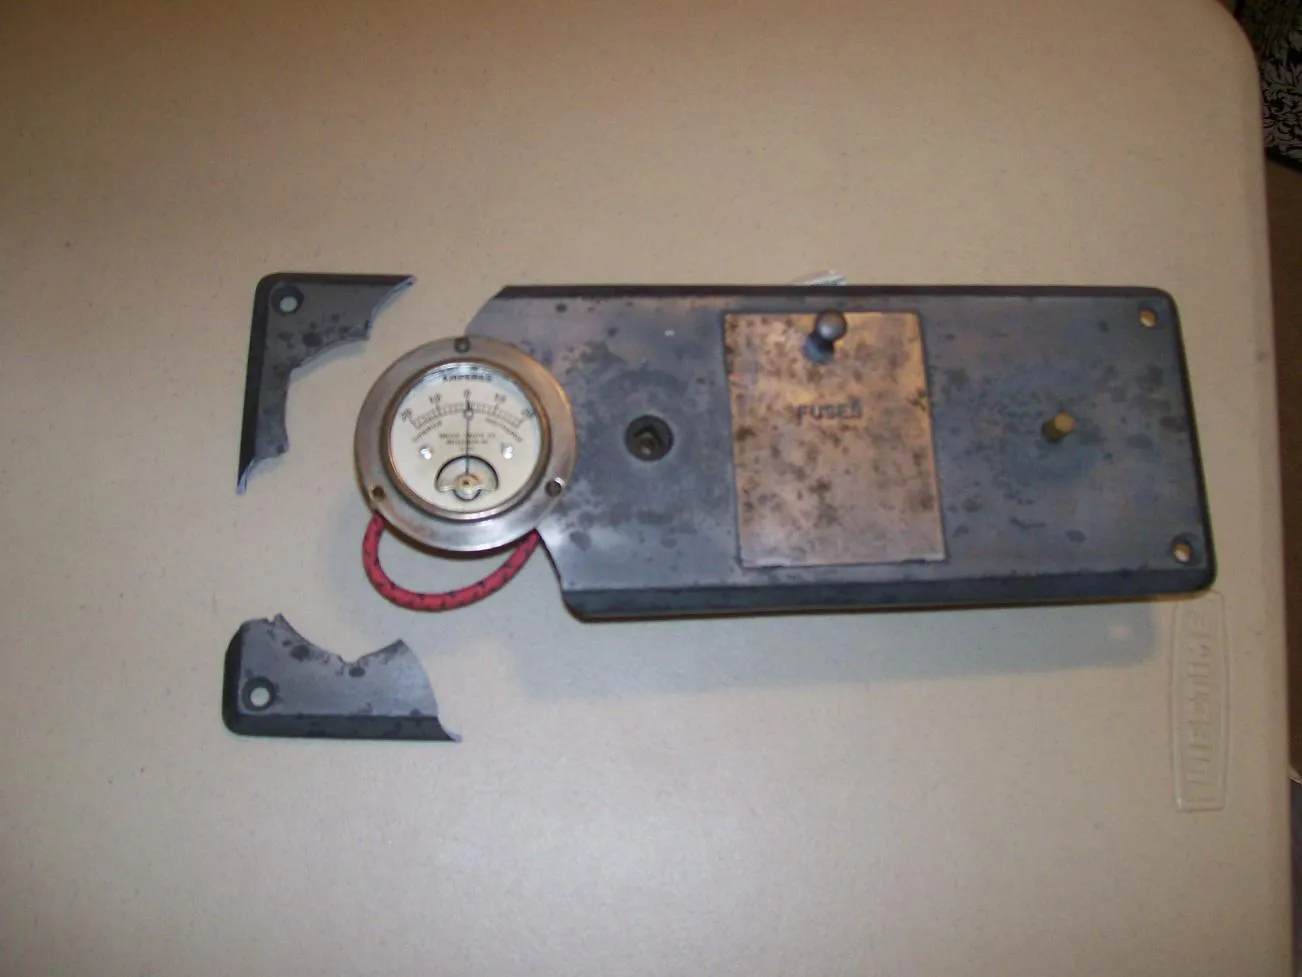
The first crucial step in welding diecast is meticulous preparation of the diecast part. Begin with thorough cleaning of the area around the weld, removing any dirt, oil, grease, paint, or corrosion. Degreasing solvents, wire brushes, or abrasive pads can be employed to achieve a clean surface. For heavily oxidized areas, consider abrasive blasting. The goal is to create a clean surface that enables the weld to bond effectively. Carefully inspect the part for any cracks or damage prior to welding, and address those issues if possible. Selecting the correct filler metal is another essential task in the preparation stage. Ensure that the filler metal matches or is compatible with the diecast alloy. Proper preparation is paramount for a successful weld, reducing the chance of porosity, cracking, and other welding defects.
Step 2 Selecting the Right Welding Settings
Once the diecast part is prepared, the next critical step involves selecting the correct welding settings. These settings, including current (amperage), voltage, and shielding gas flow rate, vary based on the chosen welding method, material type, and part thickness. When TIG welding, start with a low amperage setting and increase it gradually until a stable arc is achieved. For MIG welding, determine the appropriate voltage and wire feed speed based on the metal thickness and filler wire diameter. Consult welding charts or manufacturer recommendations for guidance. It’s always preferable to start with lower settings and adjust as needed, observing the weld pool’s behavior. A proper shielding gas flow rate ensures effective protection of the weld from atmospheric contamination. Precise adjustments to these settings are critical for achieving a sound weld and preventing defects such as porosity and cracking.
Step 3 Welding the Diecast
With the settings configured, the actual welding process can begin. For TIG welding, hold the torch at the correct angle, and maintain a consistent distance from the workpiece. Initiate the arc and use a steady hand to move the torch along the joint, adding filler metal as needed. Focus on ensuring thorough fusion between the base metal and the filler. With MIG welding, position the welding torch at the proper angle, and start the weld. Keep the torch moving at a constant speed, monitoring the weld pool and making sure the filler metal is adequately penetrating the base metal. Regardless of the process, avoid excessive heat input to minimize the risk of melting the base material and creating defects. For critical welds, consider preheating the diecast part to reduce thermal stress. Remember to wear proper personal protective equipment, including a welding helmet, gloves, and safety glasses, throughout the process.
Step 4 Cooling and Finishing
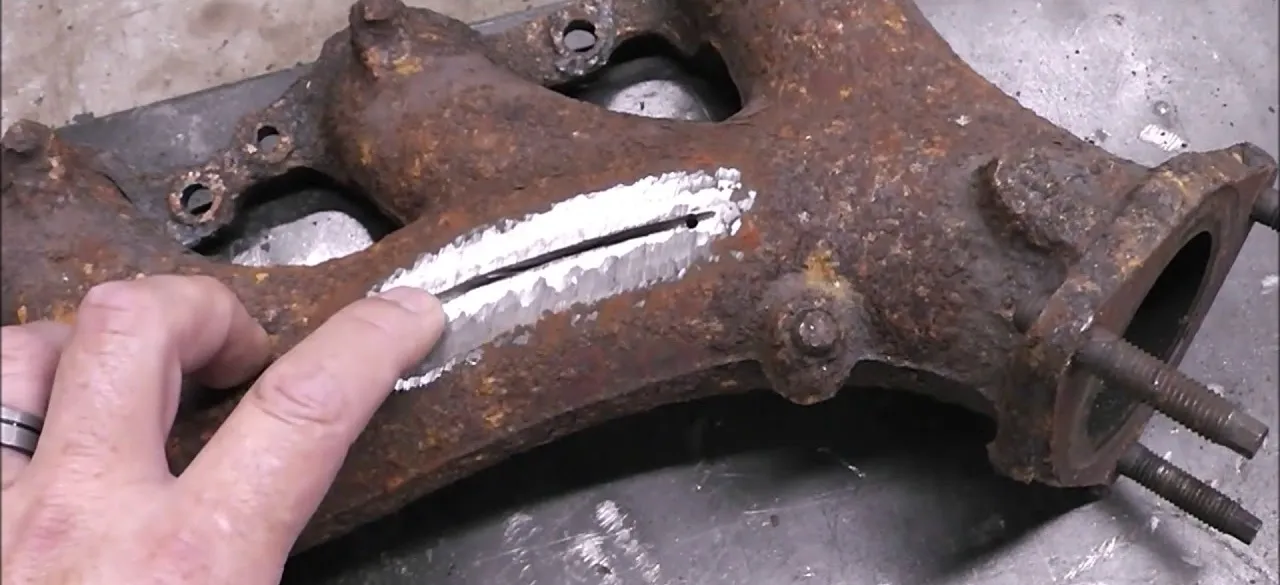
After welding, proper cooling is crucial. Allowing the welded part to cool slowly reduces the risk of stress and cracking. Avoid quenching the weld, which can lead to rapid cooling and potential defects. Once cooled, inspect the weld for any visible flaws. If necessary, perform post-weld cleanup, such as grinding down any excess filler metal or removing any remaining slag. The finished weld may then need further finishing processes, such as painting or coating, depending on the intended use. The careful attention to the cooling process ensures the weld’s durability and longevity, thus contributing to the overall quality of the repair. This final stage is a vital part of the successful diecast welding procedure, as it ensures the strength and longevity of the weld.
Post-Welding Processes for Diecast
After welding diecast, several post-welding processes are essential for ensuring weld integrity, performance, and aesthetics. These processes often include stress relief, cleaning, and finishing. Stress relief involves heating the welded part to a specific temperature, holding it for a specific period, and then allowing it to cool slowly. This process reduces residual stresses that can lead to cracking or distortion. Cleaning involves removing any slag, spatter, or oxidation formed during welding. This can be achieved through methods such as grinding, brushing, or chemical cleaning. Finishing processes include surface treatments like painting, powder coating, or anodizing, which enhance the appearance, corrosion resistance, and durability of the welded part. The appropriate post-welding processes will depend on the specific requirements of the application and the type of diecast metal used, ensuring a high-quality, durable repair.
Testing and Inspection of Welded Diecast
Testing and inspection are critical steps in the diecast welding process, guaranteeing that the welds meet the necessary quality standards and performance requirements. Visual inspection is the first step, where the welder carefully examines the weld for any visible defects, such as porosity, cracks, or inadequate fusion. Non-destructive testing (NDT) methods, such as X-ray, ultrasonic testing, and dye penetrant testing, can be used to detect internal flaws that are not visible to the naked eye. X-ray inspection uses radiation to visualize internal defects, while ultrasonic testing employs sound waves to identify discontinuities. Dye penetrant testing reveals surface cracks through the use of a dye that penetrates into the cracks, making them visible. Destructive testing, such as tensile testing and bend testing, can be used to assess the mechanical properties of the weld, including its strength and ductility. Selecting the appropriate testing methods will depend on the specific application and the required level of quality control, thus ensuring a reliable and durable weld.
Common Problems and Solutions in Diecast Welding
Welding diecast can present various challenges, and recognizing common problems and their solutions can significantly improve the outcome. Porosity, marked by gas pockets in the weld, is a frequent issue. This can be addressed by cleaning the surface thoroughly, using the proper shielding gas, and avoiding excessive heat input. Cracking, another common problem, may result from thermal stress. Preheating the part, controlling cooling, and using appropriate filler metal can help to mitigate this. Poor fusion, where the weld does not properly bond with the base metal, can be fixed by ensuring the correct welding parameters, and achieving thorough cleaning and proper surface preparation. Contamination, especially from oils and oxides, can weaken the weld; cleaning the surface diligently is crucial. By addressing these issues and applying appropriate corrective measures, welders can significantly improve the success rate and quality of diecast welding.
Welding Diecast vs Replacing the Part
Deciding between welding a diecast part and replacing it depends on various factors, each with its advantages and disadvantages. Welding may be the preferred option when the damaged part is difficult or costly to replace, offering a cost-effective solution, and preserving original components. However, welding is a skilled procedure that needs careful preparation and execution. If the part is severely damaged, or if the weld integrity cannot be assured, replacement may be a safer and more reliable choice. Welding can introduce stress and potential weaknesses, whereas replacement offers the guarantee of a new, undamaged part. The decision also hinges on the intended application of the part, the availability of replacement parts, and the expertise of the welder. Both options should be carefully evaluated, taking costs, safety, and the desired outcome into account, to decide the most suitable course of action.
Safety Precautions for Welding Diecast
Welding diecast requires strict adherence to safety precautions to protect the welder from potential hazards. Always wear appropriate personal protective equipment (PPE), including a welding helmet with a suitable filter lens, welding gloves, a welding jacket or apron, and safety glasses or goggles. Ensure proper ventilation in the welding area to prevent the buildup of harmful fumes and gases. Use a respirator if necessary, especially when welding in confined spaces. Keep the welding area free of flammable materials, and have a fire extinguisher readily available. Never weld near flammable liquids or in explosive atmospheres. Be mindful of electrical hazards, and ensure all equipment is properly grounded. Always follow the manufacturer’s instructions for the welding equipment and materials. Prioritizing safety is crucial to minimizing risks and ensuring a safe and productive welding experience. By observing these precautions, the welder can perform the welding process effectively and securely.
