What You’ll Need to Strip Diecast Paint
Stripping diecast paint can be a rewarding experience, allowing you to restore or customize your models. Before you begin, gather the necessary materials to ensure a smooth and efficient process. You’ll need a suitable paint stripper, which could be chemical or mechanical, depending on your preference and the paint type. Chemical strippers require protective gloves made from materials like nitrile or neoprene to shield your skin from harsh chemicals. You’ll also need eye protection, such as safety goggles, to prevent splashes from getting into your eyes. A well-ventilated workspace is essential, so make sure you’re working outdoors or in a room with good airflow, as the fumes from paint strippers can be harmful. Finally, have tools like plastic or wooden scrapers ready for removing the softened paint, and a toothbrush or small brush for detail work. These basic supplies will help you achieve optimal results.
Necessary Safety Precautions for Paint Stripping
Safety should always be your top priority when working with paint strippers. Chemical strippers contain corrosive substances that can cause skin irritation, burns, and eye damage. Wear appropriate personal protective equipment (PPE), including chemical-resistant gloves, eye protection, and a respirator if the ventilation is inadequate. Always work in a well-ventilated area to minimize exposure to harmful fumes; this might mean working outdoors or in a garage with open doors and windows. Avoid inhaling the vapors directly and keep the stripper away from open flames and heat sources, as some strippers are flammable. Read and follow the manufacturer’s instructions on the product label carefully. If you experience any adverse reactions, such as skin irritation or difficulty breathing, stop immediately and seek medical attention. Dispose of the used stripper and paint waste responsibly, according to local regulations.
Choosing the Right Paint Stripper

Selecting the appropriate paint stripper is crucial for a successful diecast paint removal project. Consider the type of paint on your model, as some strippers are designed for specific paint formulations. Modern diecast models often have acrylic or enamel paints, while older models might have lacquer paints. Research the product’s compatibility with the materials of your diecast model, since some strippers can damage plastic or other sensitive parts. Evaluate the stripping speed, as some strippers work faster than others, but faster doesn’t always mean better, and it might imply harsher chemicals. Consider the ease of use, opting for products with clear instructions and a straightforward application process. Read online reviews and seek recommendations from fellow hobbyists to learn about the effectiveness and safety of different products. By carefully considering these factors, you can choose a paint stripper that will be effective and safe for your model.
Types of Paint Strippers
There are two primary types of paint strippers available chemical and mechanical. Chemical strippers use solvents to dissolve the paint, making it easier to remove. These are often the most popular choice due to their effectiveness and relatively low effort. Mechanical strippers rely on physical abrasion to remove the paint. This method includes techniques like sandblasting, bead blasting, or using specialized tools like rotary tools with abrasive attachments. The best choice depends on your model and your comfort level with the different methods. The main factors include paint type, model construction, and access to the necessary equipment. Each type has its advantages and disadvantages, and the best choice depends on your project’s needs.
Chemical Strippers
Chemical strippers are often the most convenient method for removing paint from diecast models. They typically come in liquid or gel form and contain solvents that break down the paint’s bond with the metal surface. Different chemical strippers use various active ingredients, such as methylene chloride, NMP (N-Methyl-2-pyrrolidone), or citrus-based solvents. Methylene chloride-based strippers are generally very effective but can be more hazardous and require greater safety precautions. NMP-based strippers are considered a safer alternative but can still pose risks. Citrus-based strippers are often the most environmentally friendly and least toxic, but might require longer dwell times or multiple applications. Apply the stripper generously to the painted surface, allowing it to sit for the time specified by the manufacturer. Once the paint softens, use a plastic scraper or brush to gently remove the dissolved paint, taking care not to scratch the underlying metal. Always follow the manufacturer’s instructions and safety guidelines when using chemical strippers.
Alternative Stripping Methods

Besides chemical strippers, alternative methods offer different approaches to removing paint from diecast models. One is using oven cleaner, which contains strong alkaline chemicals that can break down paint. While effective, oven cleaner can be harsh and may require extra care to avoid damaging the model. Another method involves using a baking soda solution, which offers a less aggressive way to remove paint, especially for delicate models or intricate details. For mechanical methods, bead blasting uses small glass beads to gently abrade the paint surface, and it provides a consistent finish. However, it requires specialized equipment. Other options include using a heat gun to soften the paint before scraping, although this method must be done with care to prevent melting or damaging the model. These methods provide a range of options to suit different needs and preferences.
Mechanical Stripping
Mechanical stripping involves physically removing the paint from the diecast model. This method is particularly useful for removing thick layers of paint or when chemical strippers are not desired. Sandblasting is a common mechanical method, where a high-pressure stream of abrasive material, such as sand or fine glass beads, is directed at the model. This process effectively removes paint, rust, and other surface contaminants. Another option is using a rotary tool with various abrasive attachments, such as sanding drums or wire brushes, to grind off the paint. This method provides more control for detailed areas but requires careful handling to avoid damaging the model. Mechanical methods often require specialized equipment and protective gear, as they generate dust and debris. However, they can be highly effective, especially when dealing with stubborn paint or complex model designs.
Precautions when Mechanical Stripping
Mechanical stripping methods require extra precautions to protect both the model and the operator. When sandblasting or bead blasting, always use a dedicated blasting cabinet to contain the abrasive material and prevent it from scattering. Wear appropriate personal protective equipment, including a respirator, eye protection, and gloves, to avoid inhaling dust or getting particles in your eyes or on your skin. When using rotary tools, secure the model firmly and use a low speed to prevent excessive material removal or damage. Be mindful of delicate details and intricate designs, using appropriate attachments and techniques to avoid harming them. Regularly inspect the model for any signs of damage or thinning of the metal. Dispose of the abrasive materials and paint waste according to local regulations, and clean up the workspace thoroughly after each use.
The Paint Stripping Process Step-by-Step

The paint stripping process involves several key steps to ensure effective and safe paint removal. First, prepare the diecast model by removing any detachable parts, such as wheels or accessories. This prevents these components from being exposed to the stripper and protects them from damage. Next, choose your preferred stripping method and apply the stripper according to the manufacturer’s instructions. This could involve applying a chemical stripper with a brush or using a sandblaster. Once the stripper has had sufficient time to work, begin removing the softened paint. This is often done using a plastic or wooden scraper, taking care to avoid scratching the metal. Once the paint is removed, clean and neutralize the model to remove any remaining stripper residue. Finally, inspect the model for any remaining paint or imperfections and prepare it for its next phase, whether repainting or detailing.
Preparing the Diecast Model
Preparation is crucial for successful paint stripping. Before applying any stripper, disassemble the diecast model as much as possible. Remove any parts that could be damaged by the stripping process, such as clear plastic windows, tires, or delicate accessories. If the model has any decals, decide whether to remove them before stripping or protect them during the process. Clean the model’s surface to remove any dust, dirt, or grease. This can be done with a mild soap and water solution, ensuring the model is completely dry before proceeding. It’s also a good idea to inspect the model for any existing damage or imperfections before stripping, as this will help you assess the condition of the model and identify any areas that may require extra attention during the stripping or restoration phase. Proper preparation streamlines the stripping process and ensures the best possible results.
Applying the Paint Stripper
Applying the paint stripper correctly is essential for achieving optimal results. If using a chemical stripper, ensure you’re in a well-ventilated area, and wear appropriate protective gear. Apply the stripper evenly to the painted surfaces, following the manufacturer’s instructions. Use a brush or applicator to coat all areas of the model, ensuring complete coverage. For complex designs or intricate details, pay extra attention to ensure the stripper reaches every nook and cranny. Allow the stripper to dwell for the recommended time, which can vary depending on the product and the type of paint. Avoid letting the stripper dry on the model, as this can make it more difficult to remove. For mechanical stripping methods, such as sandblasting, set up your equipment and adjust the pressure to avoid damaging the model. For all stripping methods, test a small, inconspicuous area first to make sure the method doesn’t negatively affect the model’s material or finish.
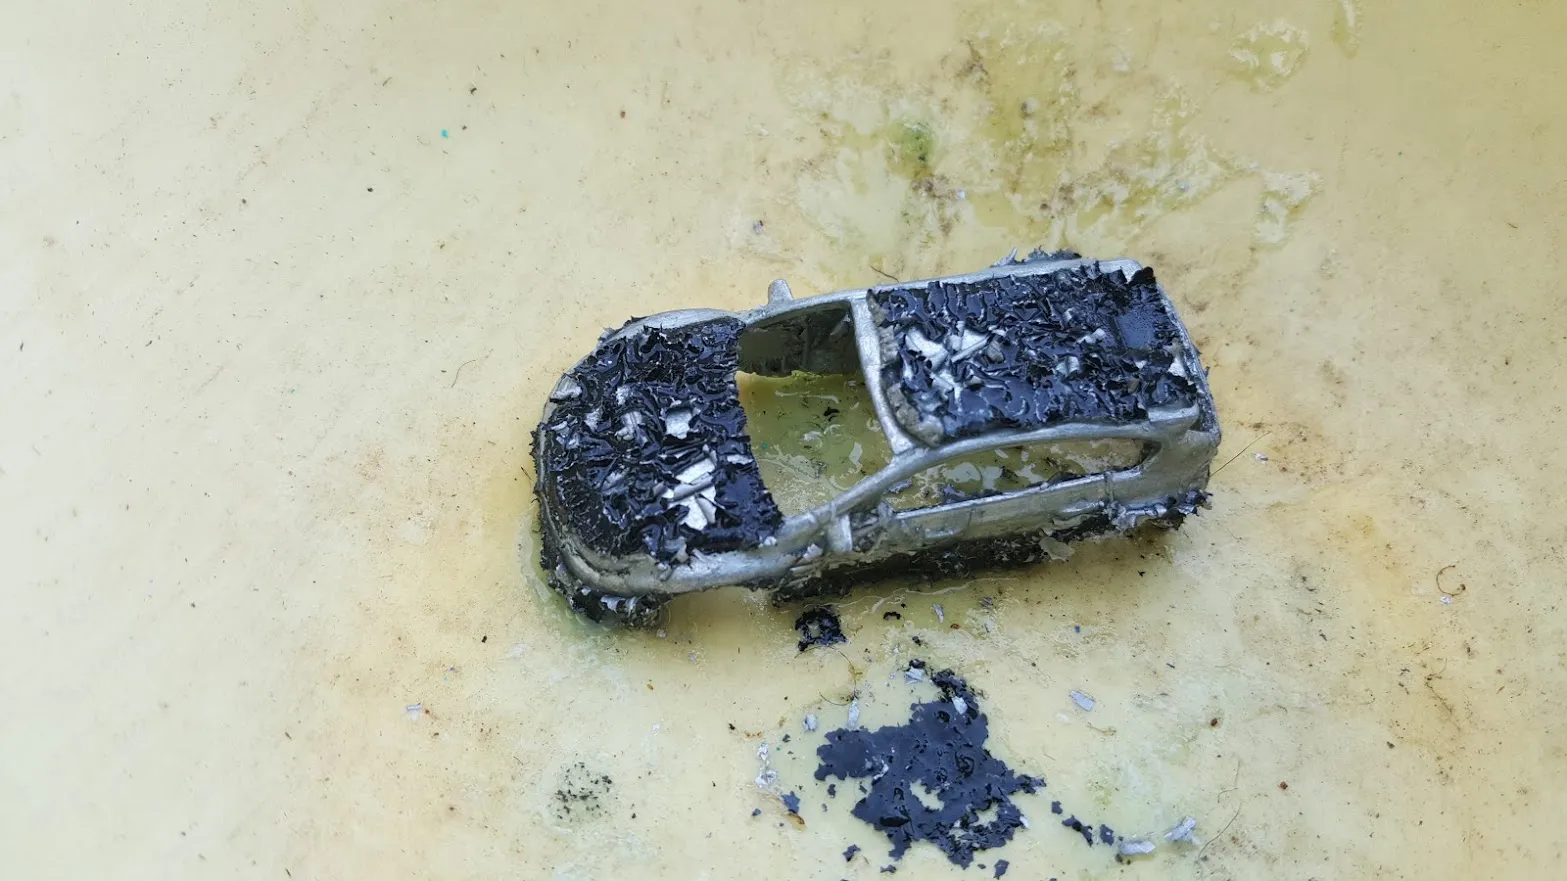
Removing the Paint

Once the paint stripper has had time to work, it’s time to remove the softened paint. For chemical strippers, use a plastic or wooden scraper to gently lift and remove the paint. Work in small sections, carefully avoiding scratching the underlying metal. Use a brush or cotton swabs to remove paint from intricate areas. If the paint is stubborn, you might need to reapply the stripper and allow it to dwell longer. For mechanical methods, use the appropriate tools, such as a sandblaster or rotary tool, to abrade the paint away. Be cautious to not remove too much material, especially when working on delicate parts. Once the paint is removed, inspect the model closely to make sure all the paint has been removed and that there are no remaining residue. If any paint remains, repeat the process until the model is completely stripped.
Cleaning and Neutralizing the Model
After stripping, it’s crucial to clean and neutralize the model to remove any remaining stripper residue and prepare the surface for the next step. For chemical stripping, wash the model thoroughly with water and a mild soap, ensuring that all traces of the stripper are removed. Some strippers may require a neutralizing agent, such as baking soda and water, to stop the chemical reaction. Rinse the model thoroughly and dry it completely before proceeding. For mechanical stripping, use compressed air to remove any dust or debris from the model’s surface. Regardless of the stripping method, inspect the model closely for any remaining residue or imperfections. This step ensures that the model is clean and ready for priming, painting, or any further customization. Failing to properly clean and neutralize the model can compromise the adhesion of any future coatings.
After Stripping Diecast Paint
Once you’ve successfully stripped the paint from your diecast model, the real fun begins. The model is now ready for a fresh coat of paint, allowing you to restore it to its original glory or customize it with a unique design. Before painting, prime the model with a suitable primer. This provides a base for the paint to adhere to, and it helps to fill minor imperfections. After priming, apply your chosen paint, following the manufacturer’s instructions for the best results. This might involve using spray cans, airbrushes, or other application methods. Once the paint has dried completely, you can add details such as decals and clear coats to protect the paint finish. With some patience and care, you can create a stunning custom diecast model that showcases your creativity and skill. The possibilities are endless, and the joy of crafting something new is truly rewarding.
Common Mistakes to Avoid When Stripping Diecast Paint

Avoiding common mistakes can significantly improve the outcome of your paint stripping project. One mistake is not wearing appropriate safety gear; always protect your skin, eyes, and lungs. Another is rushing the process; allow sufficient time for the stripper to work and avoid forcing the paint removal. Overlooking the preparation steps, such as disassembling the model and cleaning the surface, is another frequent error. Failing to test the stripper on a small area can lead to unexpected damage or adverse reactions. Using abrasive tools too aggressively can scratch or damage the model. Inadequate ventilation is also a common oversight, potentially exposing you to harmful fumes. Neglecting to neutralize the model after stripping can compromise the adhesion of new paint. By being aware of these common mistakes, you can create a better experience and achieve outstanding results.