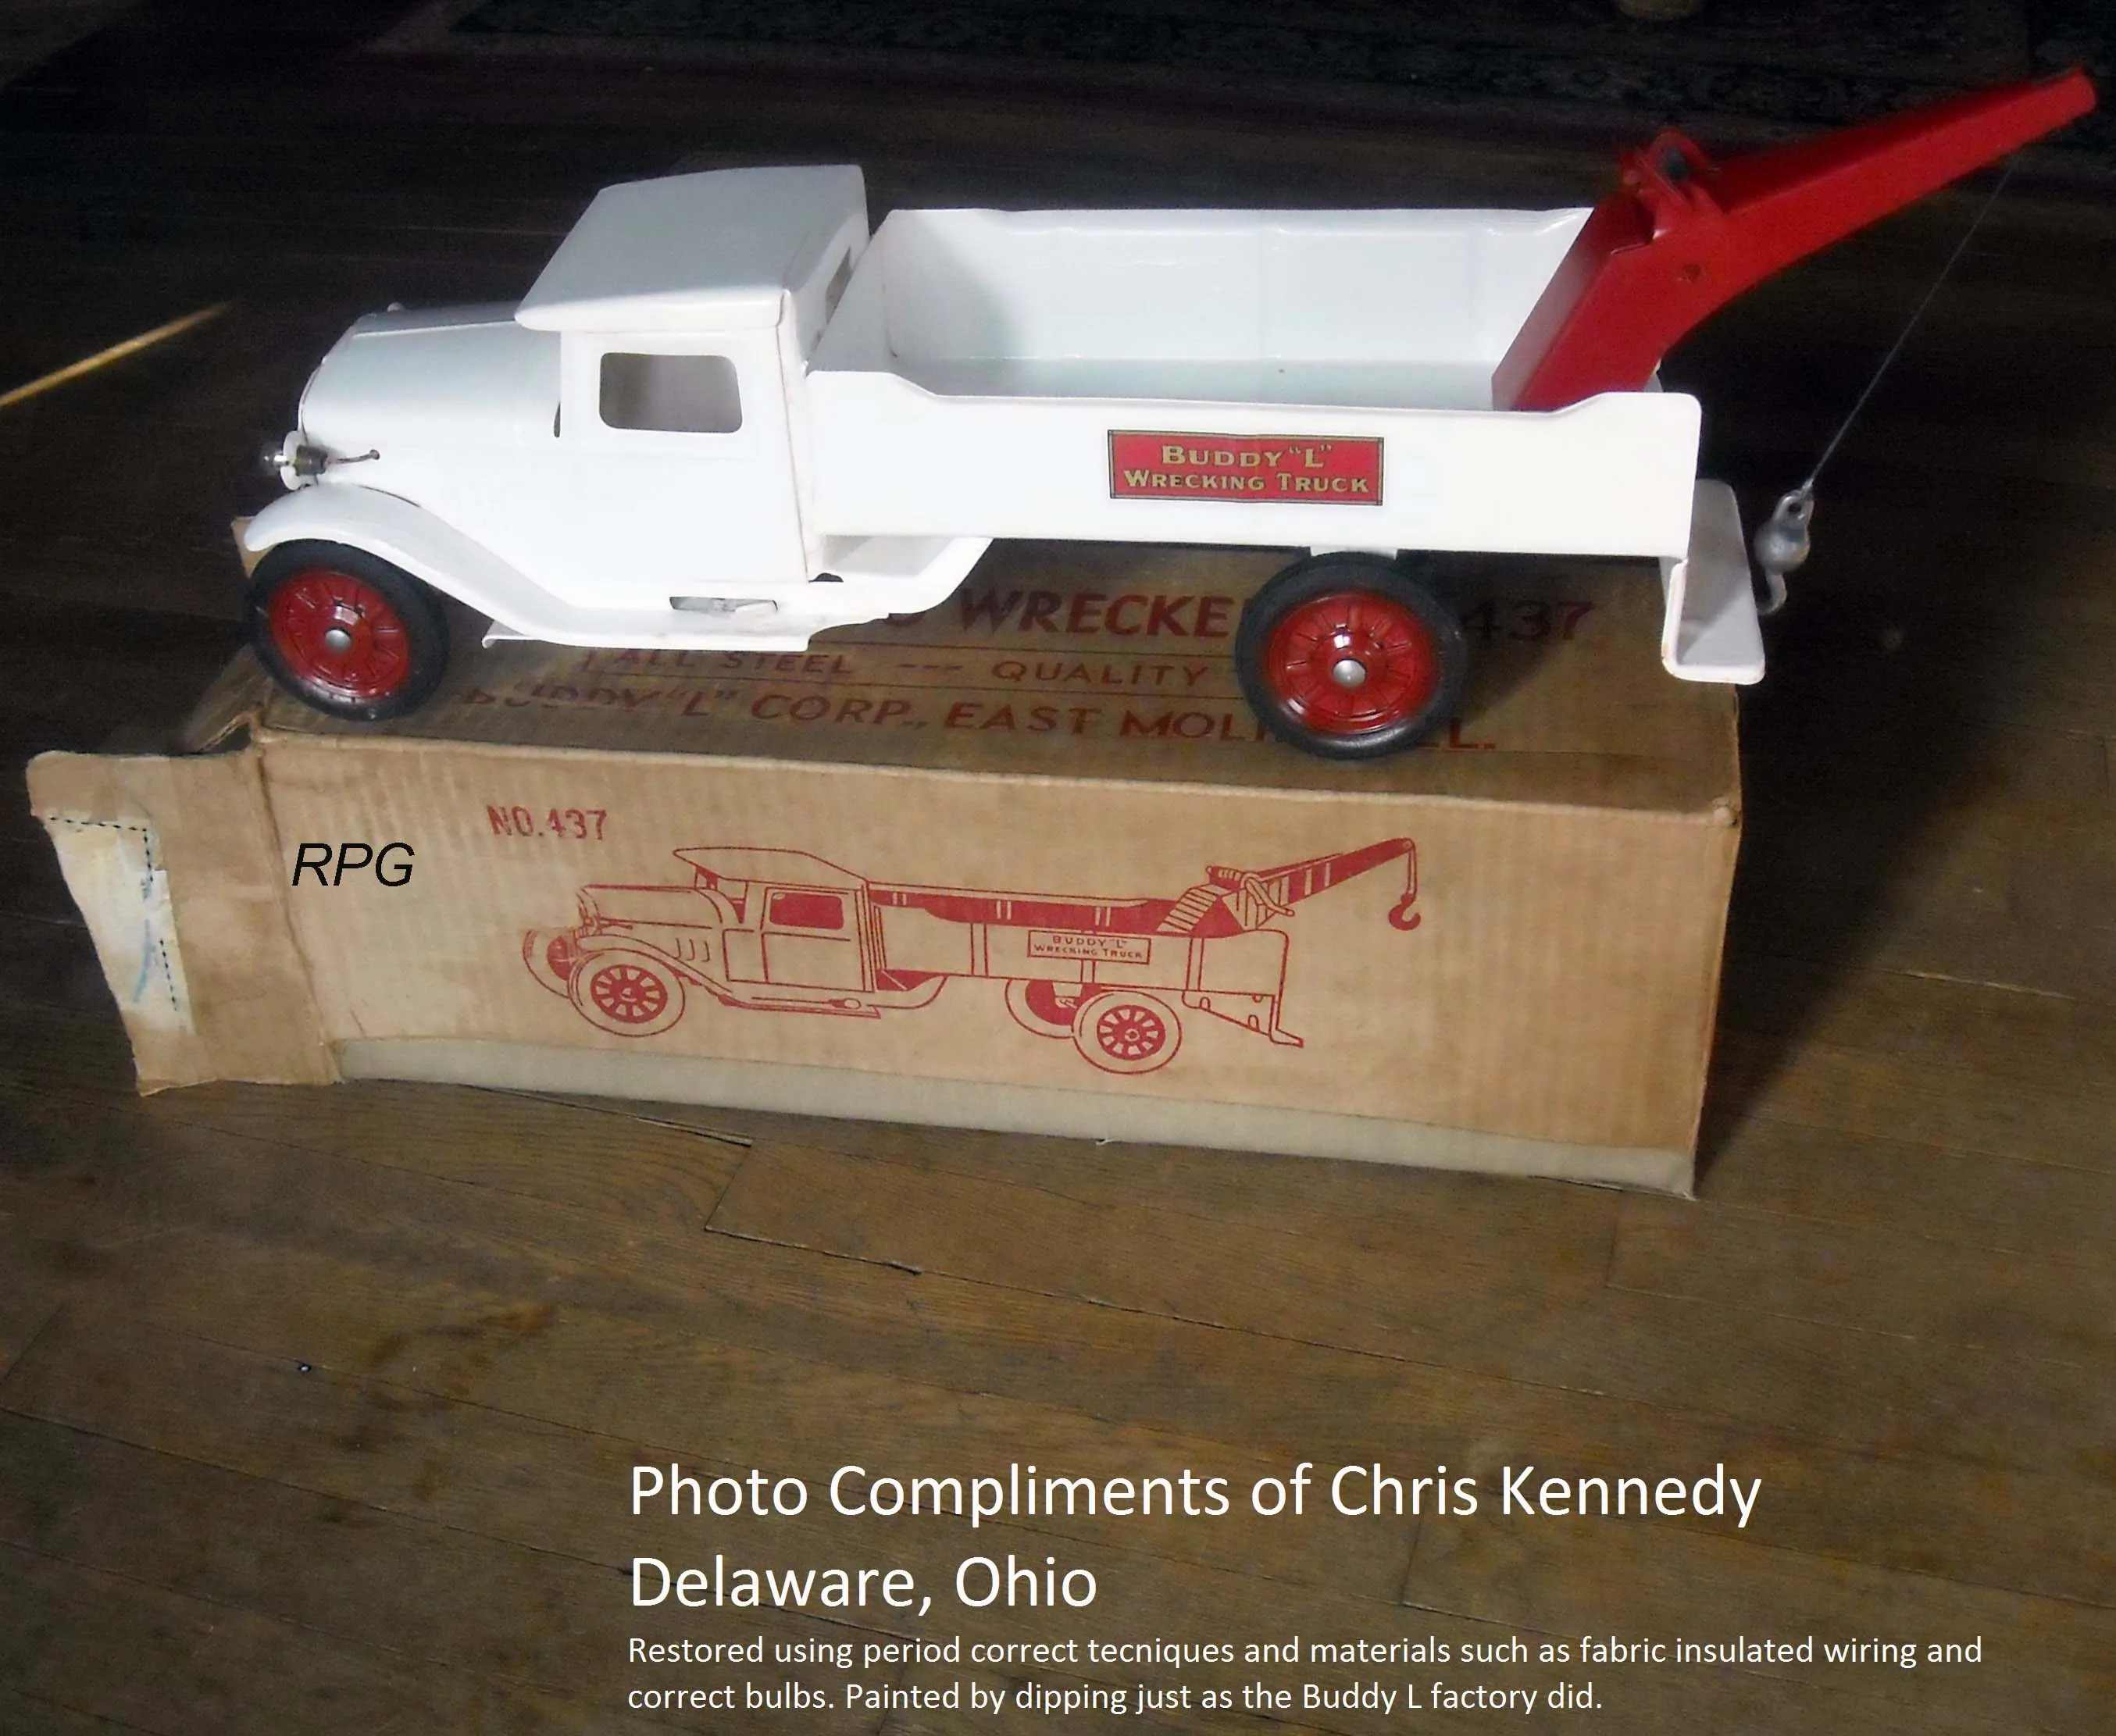
Diecast toys, with their intricate details and nostalgic appeal, hold a special place in the hearts of collectors and enthusiasts. Over time, these treasured items can suffer from wear and tear, rust, and damage. Fortunately, restoring diecast toys is a rewarding hobby that can breathe new life into these miniature masterpieces. This guide provides a comprehensive, step-by-step approach to restoring your diecast toys, transforming them from damaged relics to stunning display pieces. Whether you’re a seasoned collector or a beginner, these techniques will help you revive your cherished diecast models.
Assessing the Damage on Your Diecast Toy
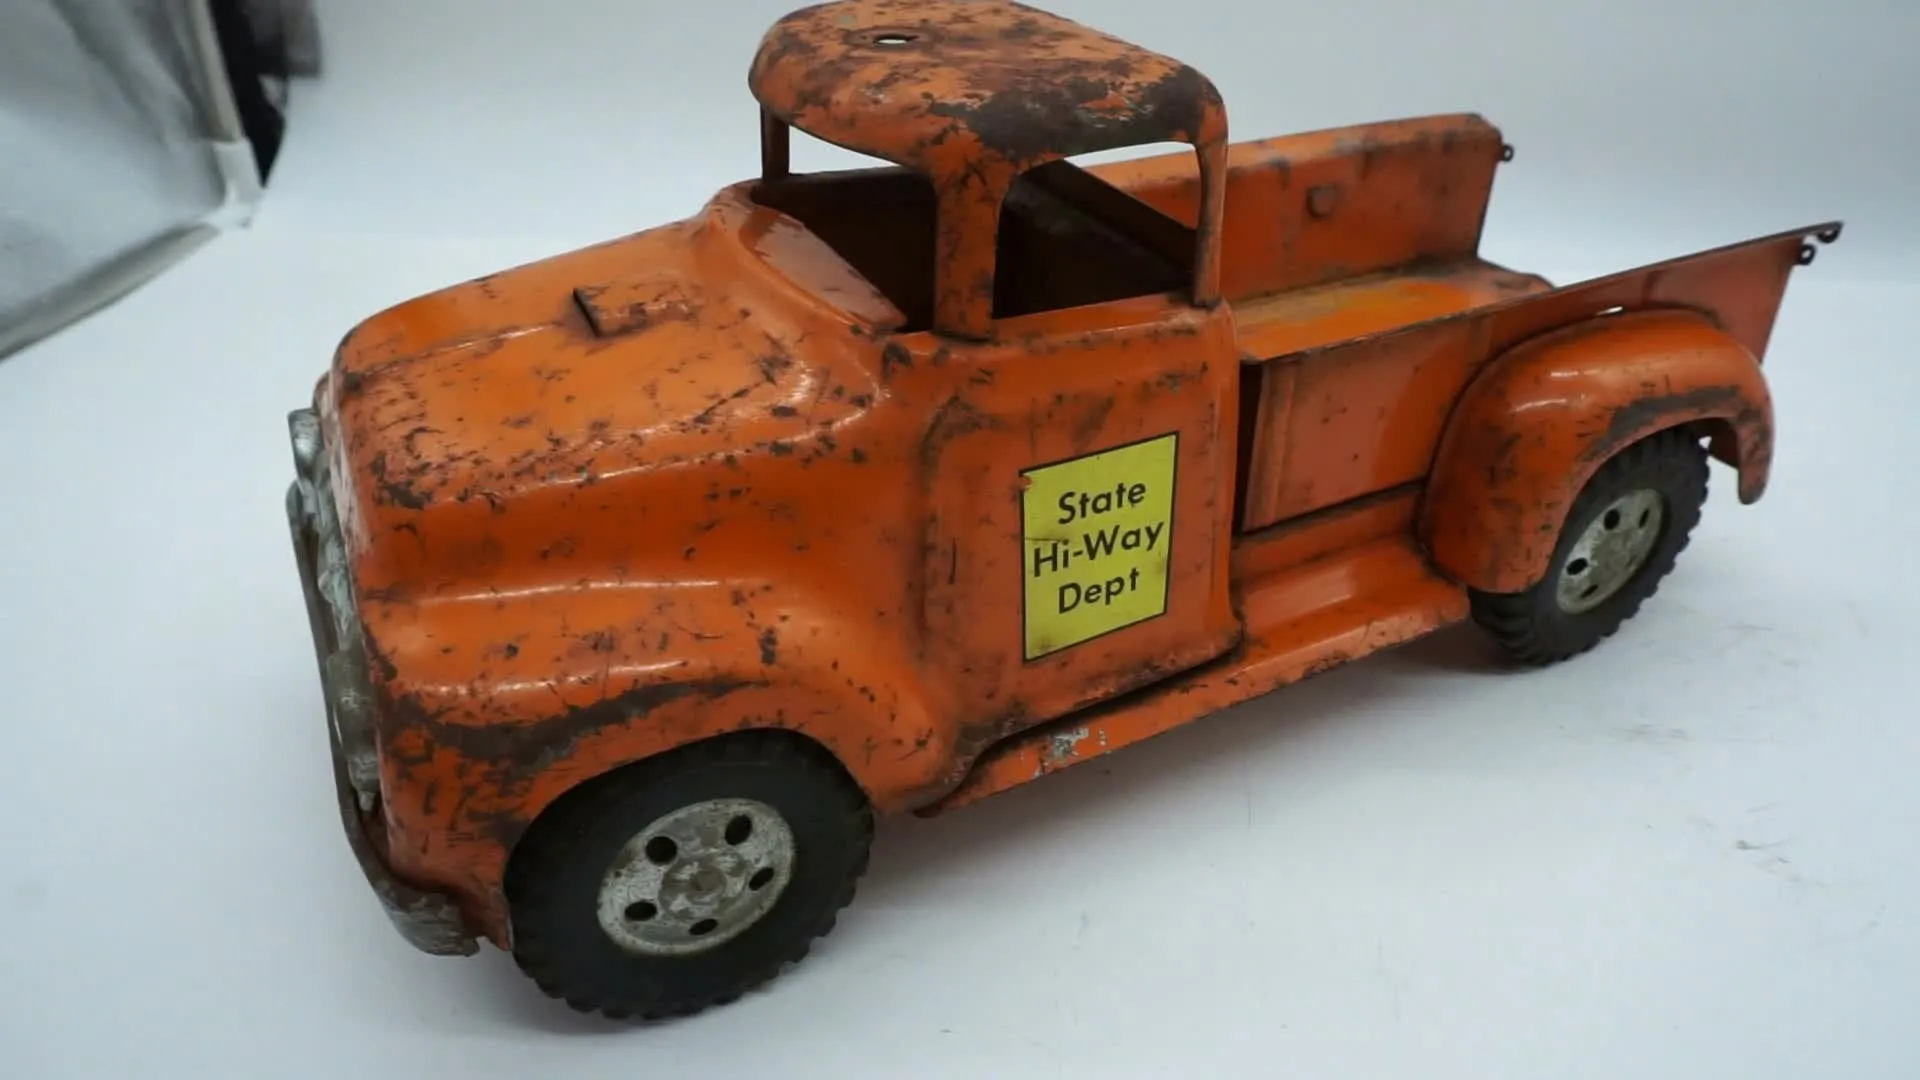
Before diving into the restoration process, a thorough assessment of the damage is crucial. Carefully examine the toy for any signs of rust, paint chipping, dents, or missing parts. Documenting the existing condition of your diecast toy is a must before starting the restoration process. Take detailed photographs from various angles to track your progress and understand the extent of the work required. This initial inspection will help you determine the scope of the restoration and the materials you’ll need.
Identifying the Toy’s Material
Understanding the materials used in your diecast toy is fundamental to successful restoration. Most diecast toys are made primarily of zinc alloy, often referred to as ‘pot metal,’ which is then coated with paint and may include plastic or rubber components. Different materials require different cleaning and restoration methods, so knowing what you’re working with is essential. For example, the chemicals you use for cleaning or the paint you apply might differ based on whether your toy is primarily metal, plastic, or a combination of both. Careful material identification will also ensure the longevity and preservation of your diecast models.
Materials commonly used in Diecast Toys
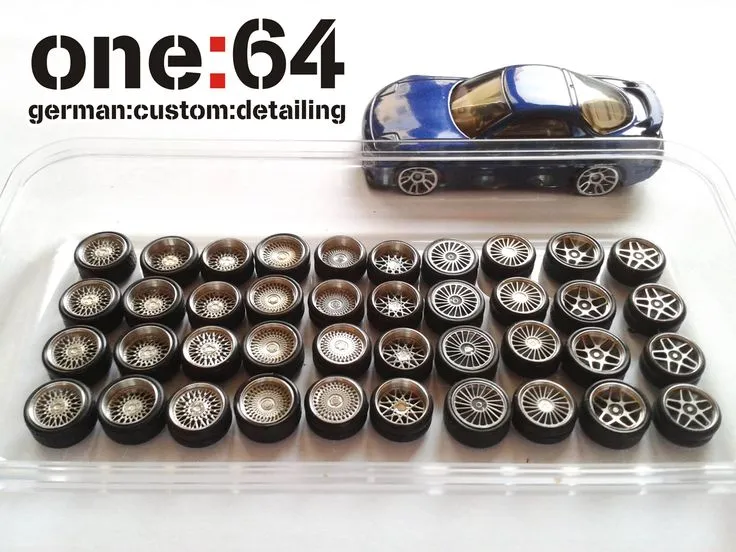
- Zinc Alloy: This is the primary material for the body and many components.
- Plastic: Used for windows, tires, and interior details.
- Rubber: Often found in tires and other flexible parts.
- Paint: Enamel or lacquer paints are commonly used for the finish.
- Decals: Applied to add detail and branding.
Tools You’ll Need for Restoration
Having the right tools can significantly simplify and improve the restoration process. Gather the following essential tools to ensure you’re well-equipped. These tools are essential for everything from disassembling your toy to applying the finishing touches. A well-equipped workspace will allow you to work safely and efficiently, ensuring a higher quality of restoration.
- Screwdrivers (various sizes and types)
- Small pliers and tweezers
- Soft brushes
- Paint strippers and thinners
- Sandpaper (various grits)
- Rust remover
- Primer and paints (matching the original colors)
- Detailing brushes
- Clear coat sealant
Cleaning Your Diecast Toy
Thorough cleaning is a critical step in any restoration. Removing dirt, grime, and old paint prepares the surface for further work and helps reveal the true condition of the toy. Proper cleaning will enhance your restoration efforts. It also allows for a better bond between the new paint and the diecast metal.
Removing Rust and Corrosion
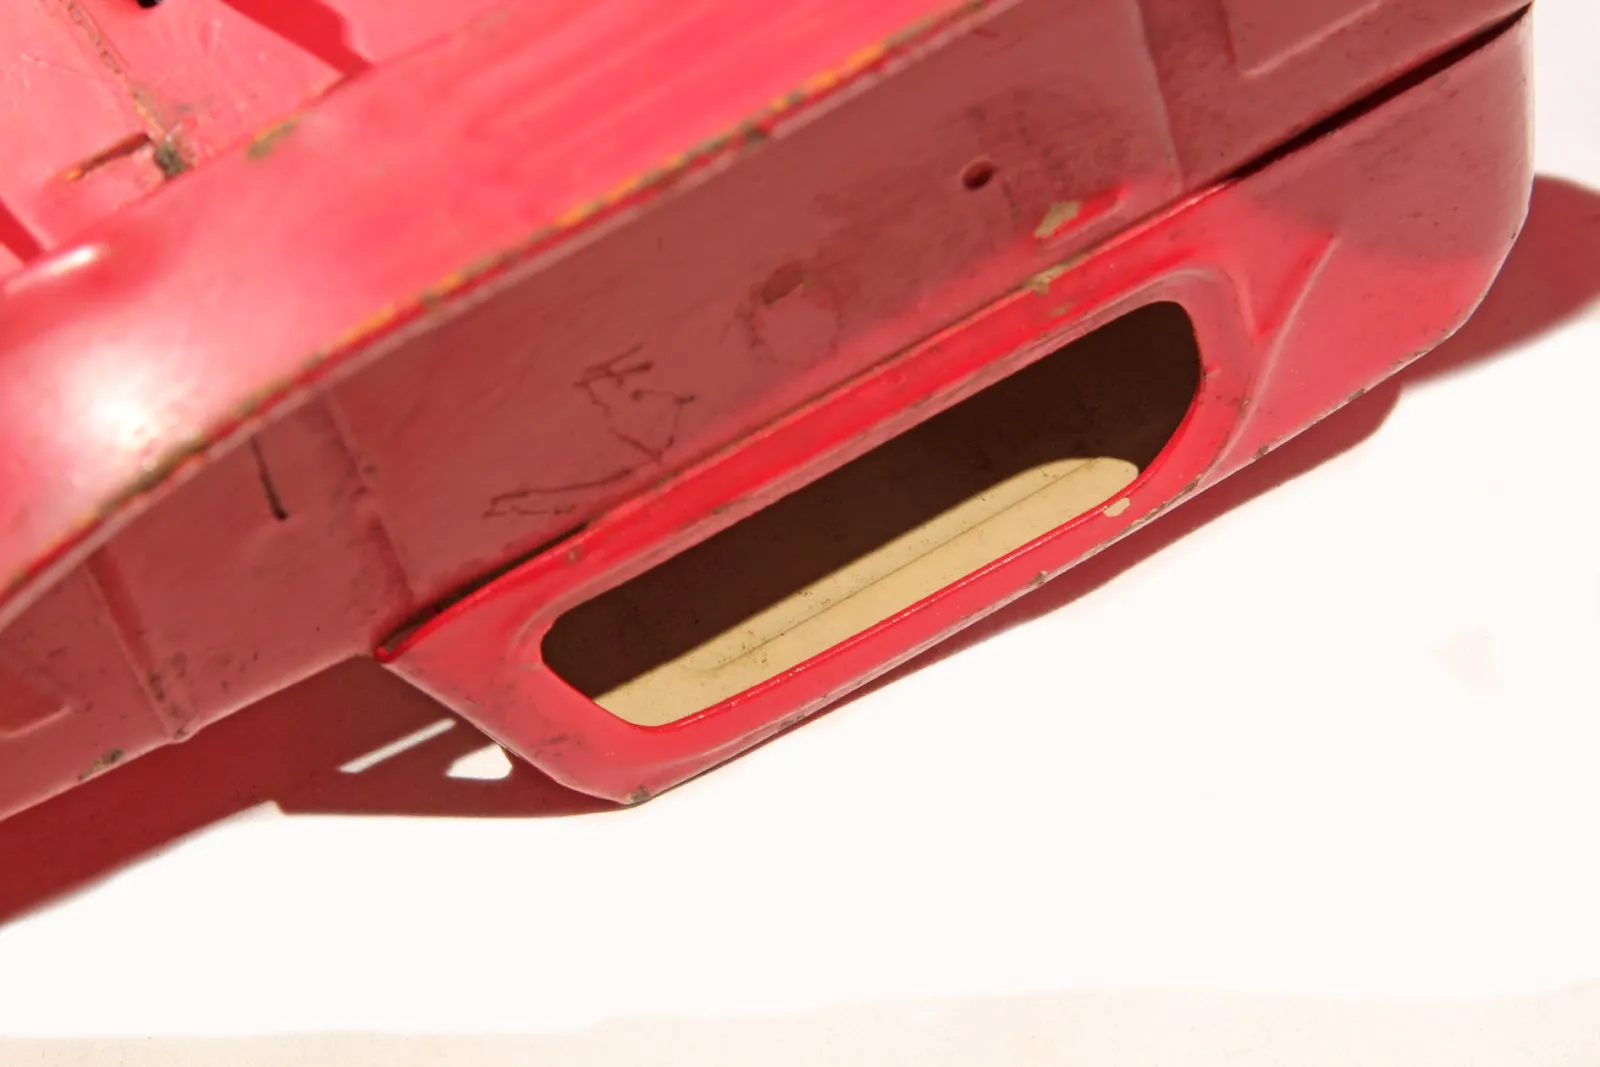
Rust is a common enemy of diecast toys, especially those stored in damp conditions. Use rust removal solutions or gently scrub with fine-grit sandpaper to eliminate rust. For severe rust, soaking the parts in a rust-removal solution may be necessary, but always be cautious to avoid damaging the underlying metal. Careful removal prevents further deterioration and prepares the metal for painting.
Gentle Cleaning Techniques
- Warm water and mild soap
- Soft brushes
- Avoid abrasive cleaners
Rust Removal Methods
- Commercial rust removers (follow manufacturer’s instructions)
- Electrolytic rust removal (for more severe cases)
- Fine-grit sandpaper (gently sand away rust)
Disassembly and Part Replacement
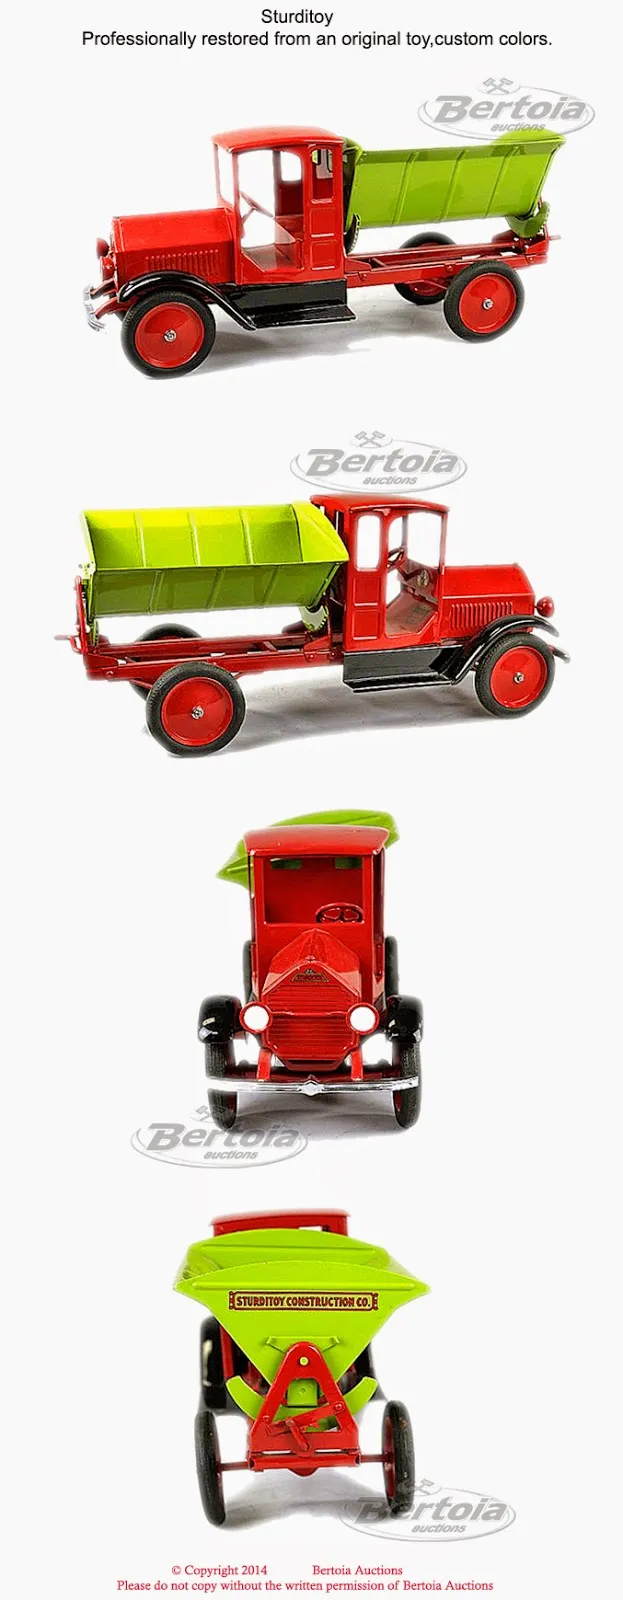
Careful disassembly is essential to avoid further damage to the toy. Document the process by taking photos as you go, which will be very helpful when reassembling. Also, identify any parts that are missing or damaged and source replacements if possible.
Disassembly steps
- Carefully remove screws, and other fasteners.
- Use small pliers to gently detach delicate parts.
- Take photographs at each stage to help with reassembly.
Finding Replacement Parts
Finding replacement parts can be challenging but is often necessary for a complete restoration. Look for online retailers that specialize in diecast toy parts, check collector forums, and consider purchasing donor toys. This may involve finding similar models and using parts from those to repair your toy.
Painting and Refinishing
Painting is one of the most transformative steps in the restoration process. Proper preparation and careful application of paint are key to achieving a professional-looking finish. Using the correct techniques and materials ensures that your restored toy looks its best.
Choosing the Right Paint
Select paints that are specifically designed for metal surfaces. Enamel and lacquer paints are popular choices for diecast toys. Match the original colors as closely as possible, and consider using model paint for detailed work and small parts. Choosing the correct paint will provide the best finish and ensure it is durable.
Preparing the Surface
Before painting, thoroughly clean the surface and remove any remaining rust or old paint. Lightly sand the surface to create a good bond for the primer. Apply a primer designed for metal surfaces to ensure even coverage and better adhesion for the paint. Careful surface preparation ensures that the paint adheres well and provides a smooth, even finish.
Applying the Paint
Apply multiple thin coats of paint, allowing each coat to dry completely before applying the next. Use a high-quality paintbrush or an airbrush for a smoother finish. Thin coats prevent runs and drips. Consider using a clear coat sealant to protect the paint and add a glossy finish. Proper paint application enhances the appearance and durability of your restored toy.
Reassembly and Detailing
Reassembly is the final step in the restoration process, bringing all the individual parts back together. Pay attention to details and consider adding decals or other detailing elements to enhance the toy’s appearance and authenticity.
Putting it back together
Carefully reassemble the toy, referring to your photographs taken during disassembly. Ensure that all parts fit correctly and are securely fastened. Take your time and double-check all connections. Accurate reassembly is critical to the structural integrity and the final look of the restored toy.
Adding Decals and Details
Add decals and other detailing elements to enhance the toy’s appearance and authenticity. Use a decal setting solution to ensure the decals adhere properly to the surface. This will give your restored toy a more professional and detailed finish. Detail elements bring the toy to life, making it look as authentic as possible.
Protecting and Preserving Your Restored Toy
Once your restoration is complete, take steps to protect your hard work. Store your restored diecast toys in a cool, dry place away from direct sunlight. Avoid exposing them to extreme temperatures or humidity. Proper storage ensures that the restored toy remains in excellent condition for years to come.
Displaying Your Restored Toy
Displaying your restored diecast toys can be a source of great pride. Consider using display cases to protect them from dust and damage. Arrange your collection in an organized manner to showcase your hard work. Proper display not only protects your models but also allows you to admire your restoration efforts.
Restoring diecast toys is a rewarding hobby that allows you to preserve and appreciate these miniature works of art. With patience, the right tools, and a step-by-step approach, you can transform damaged toys into treasured collectibles. Enjoy the process, and take pride in the craftsmanship. Happy restoring!
