Planning Your Diecast Model Car Hoist
Before you begin constructing your diecast model car hoist, careful planning is crucial. This initial phase sets the foundation for a successful and functional project. Consider the space where the hoist will be located. Measure the available area and determine the maximum dimensions of your hoist to ensure it fits comfortably. Think about the types and sizes of diecast model cars you intend to display or work with. These factors will influence the overall dimensions, weight capacity, and design of your hoist. Research different hoist designs, from simple to elaborate, to identify the features and functionalities that best suit your needs. Sketch out a basic design, including all the components and how they will fit together, before moving on to material selection. This will provide a visual guide and help you anticipate potential challenges during the construction phase. Proper planning avoids costly mistakes and ensures that your diecast model car hoist is both aesthetically pleasing and practical.
Choosing the Right Materials
The choice of materials significantly impacts the durability, stability, and overall appearance of your diecast model car hoist. For the base frame, consider using sturdy materials like wood (pine or MDF) or metal (aluminum or steel). Wood is easier to work with and provides a classic look, while metal offers superior strength and a more modern aesthetic. Ensure that the material can support the weight of your models. For the lifting mechanism, you can opt for options such as threaded rods, small winches, or even a pulley system. These require strong materials for the supporting structure. The choice of material will depend on the design and complexity. Use robust materials for the support structure, such as metal rods or strong wooden beams, to ensure stability. Fasteners like screws, bolts, and adhesives should be of high quality and suitable for the materials used. Avoid materials that could corrode or degrade over time. Consider the aesthetic aspect as well; materials like paint, stain, or decorative elements can enhance the visual appeal of the finished project. Choosing the right materials will increase the lifespan and functionality of your diecast model car hoist.
Types of Hoists & Their Suitability

There are several designs for your diecast model car hoist. Each has its own advantages and is suitable for different needs and skill levels. The most basic design is a simple lever hoist, using a fulcrum and lever to lift the model cars. This design is the easiest to build and requires minimal materials and tools. Next is the screw-driven hoist. It employs a threaded rod connected to a platform that moves up or down as the rod is turned. This design provides more control and stability but can be slower. A pulley system utilizes ropes or cables and pulleys to multiply force, making it easier to lift heavier loads. This system is a good option if you want a more complex design. Another option is the motorized hoist, using a small motor to power the lifting mechanism. This offers convenience but requires more advanced electrical knowledge. Consider factors such as the intended use, the weight of your models, the available space, and your comfort level with different construction techniques. Carefully researching each option will help you create a hoist that meets your specific needs and enhances your diecast model car collection.
Measuring Your Space and Models
Accurate measurements are fundamental to a successful diecast model car hoist project. Start by measuring the space where the hoist will be located. Consider the height, width, and depth of the area to determine the maximum dimensions of the hoist. Ensure the hoist can be operated without obstructions. Measure the dimensions of your diecast model cars. Note the length, width, height, and weight of the models you plan to use. This information will help you determine the size of the hoist’s platform and the required weight capacity. Account for additional space to accommodate the lifting mechanism and supporting structure. This ensures that the hoist can move the models safely. If you plan on adding features like lighting or decorative elements, factor in their space requirements as well. Double-check all measurements before cutting any materials. Accurate measurements prevent mistakes and ensure that your hoist fits your space and models perfectly, allowing for a smooth and safe operation.
Essential Tools for the Project
Building a diecast model car hoist requires specific tools to ensure precision and safety. A measuring tape and ruler are essential for accurate measurements. A saw, such as a hand saw, jigsaw, or circular saw, is needed for cutting materials to the right sizes. A drill is necessary for making holes for screws and bolts, and a screwdriver is used for fastening components. Clamps are useful for holding parts together while the glue dries or while assembling. A level ensures that all components are aligned correctly. A sander, either a hand sander or an electric sander, is useful for smoothing rough edges and surfaces. Safety equipment such as safety glasses, gloves, and a dust mask is essential. Other helpful tools include a hammer, a wrench, and possibly a soldering iron if you plan to include any electrical components. The specific tools required will vary depending on the complexity of your design. Having the right tools will help with the construction process, reduce errors, and improve the final result.
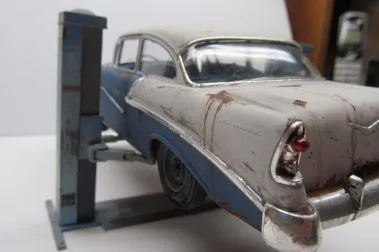
Step-by-Step Diecast Model Car Hoist Construction

This section provides a detailed guide for constructing a diecast model car hoist. Follow these steps to build your hoist successfully. Begin by constructing the base frame, which provides stability and support. Cut the frame pieces to the required dimensions, using wood or metal. Assemble the frame, ensuring all corners are square and secure. Next, build the lifting mechanism, which will raise and lower the model cars. This could be a screw-driven system, a pulley system, or any design you choose. Attach the lifting mechanism to the base frame and the platform, ensuring it moves smoothly. Construct the support structure, which will bear the weight of the models. This could be vertical supports or a more complex framework. Add the support structure to the base frame, making sure it is firmly secured. After that, attach the platform or cradle that will hold the diecast model cars to the lifting mechanism. Ensure the platform is level and stable. Finally, attach the hoist to the base. Add any final touches like painting, detailing, or adding safety features. Following these steps in sequence will result in a working diecast model car hoist.
Building the Base Frame
The base frame is a fundamental part of your diecast model car hoist, providing stability and structural support. The frame should be sturdy to support the weight of the hoist and the model cars. The material could be wood, metal or any other material. The dimensions of the frame depend on the size and design of the hoist. Cut the pieces for the frame accurately. Assemble the frame using screws, bolts, or welding. Ensure the corners are square and secure, using corner braces or reinforcing blocks if necessary. The base frame should be level to provide a stable foundation for the rest of the project. Check the alignment of the frame before tightening the fasteners. Once the frame is assembled, sand any rough edges or surfaces to provide a clean finish. The base frame is a crucial element of the diecast model car hoist, and building it correctly is essential for the overall integrity of the project.
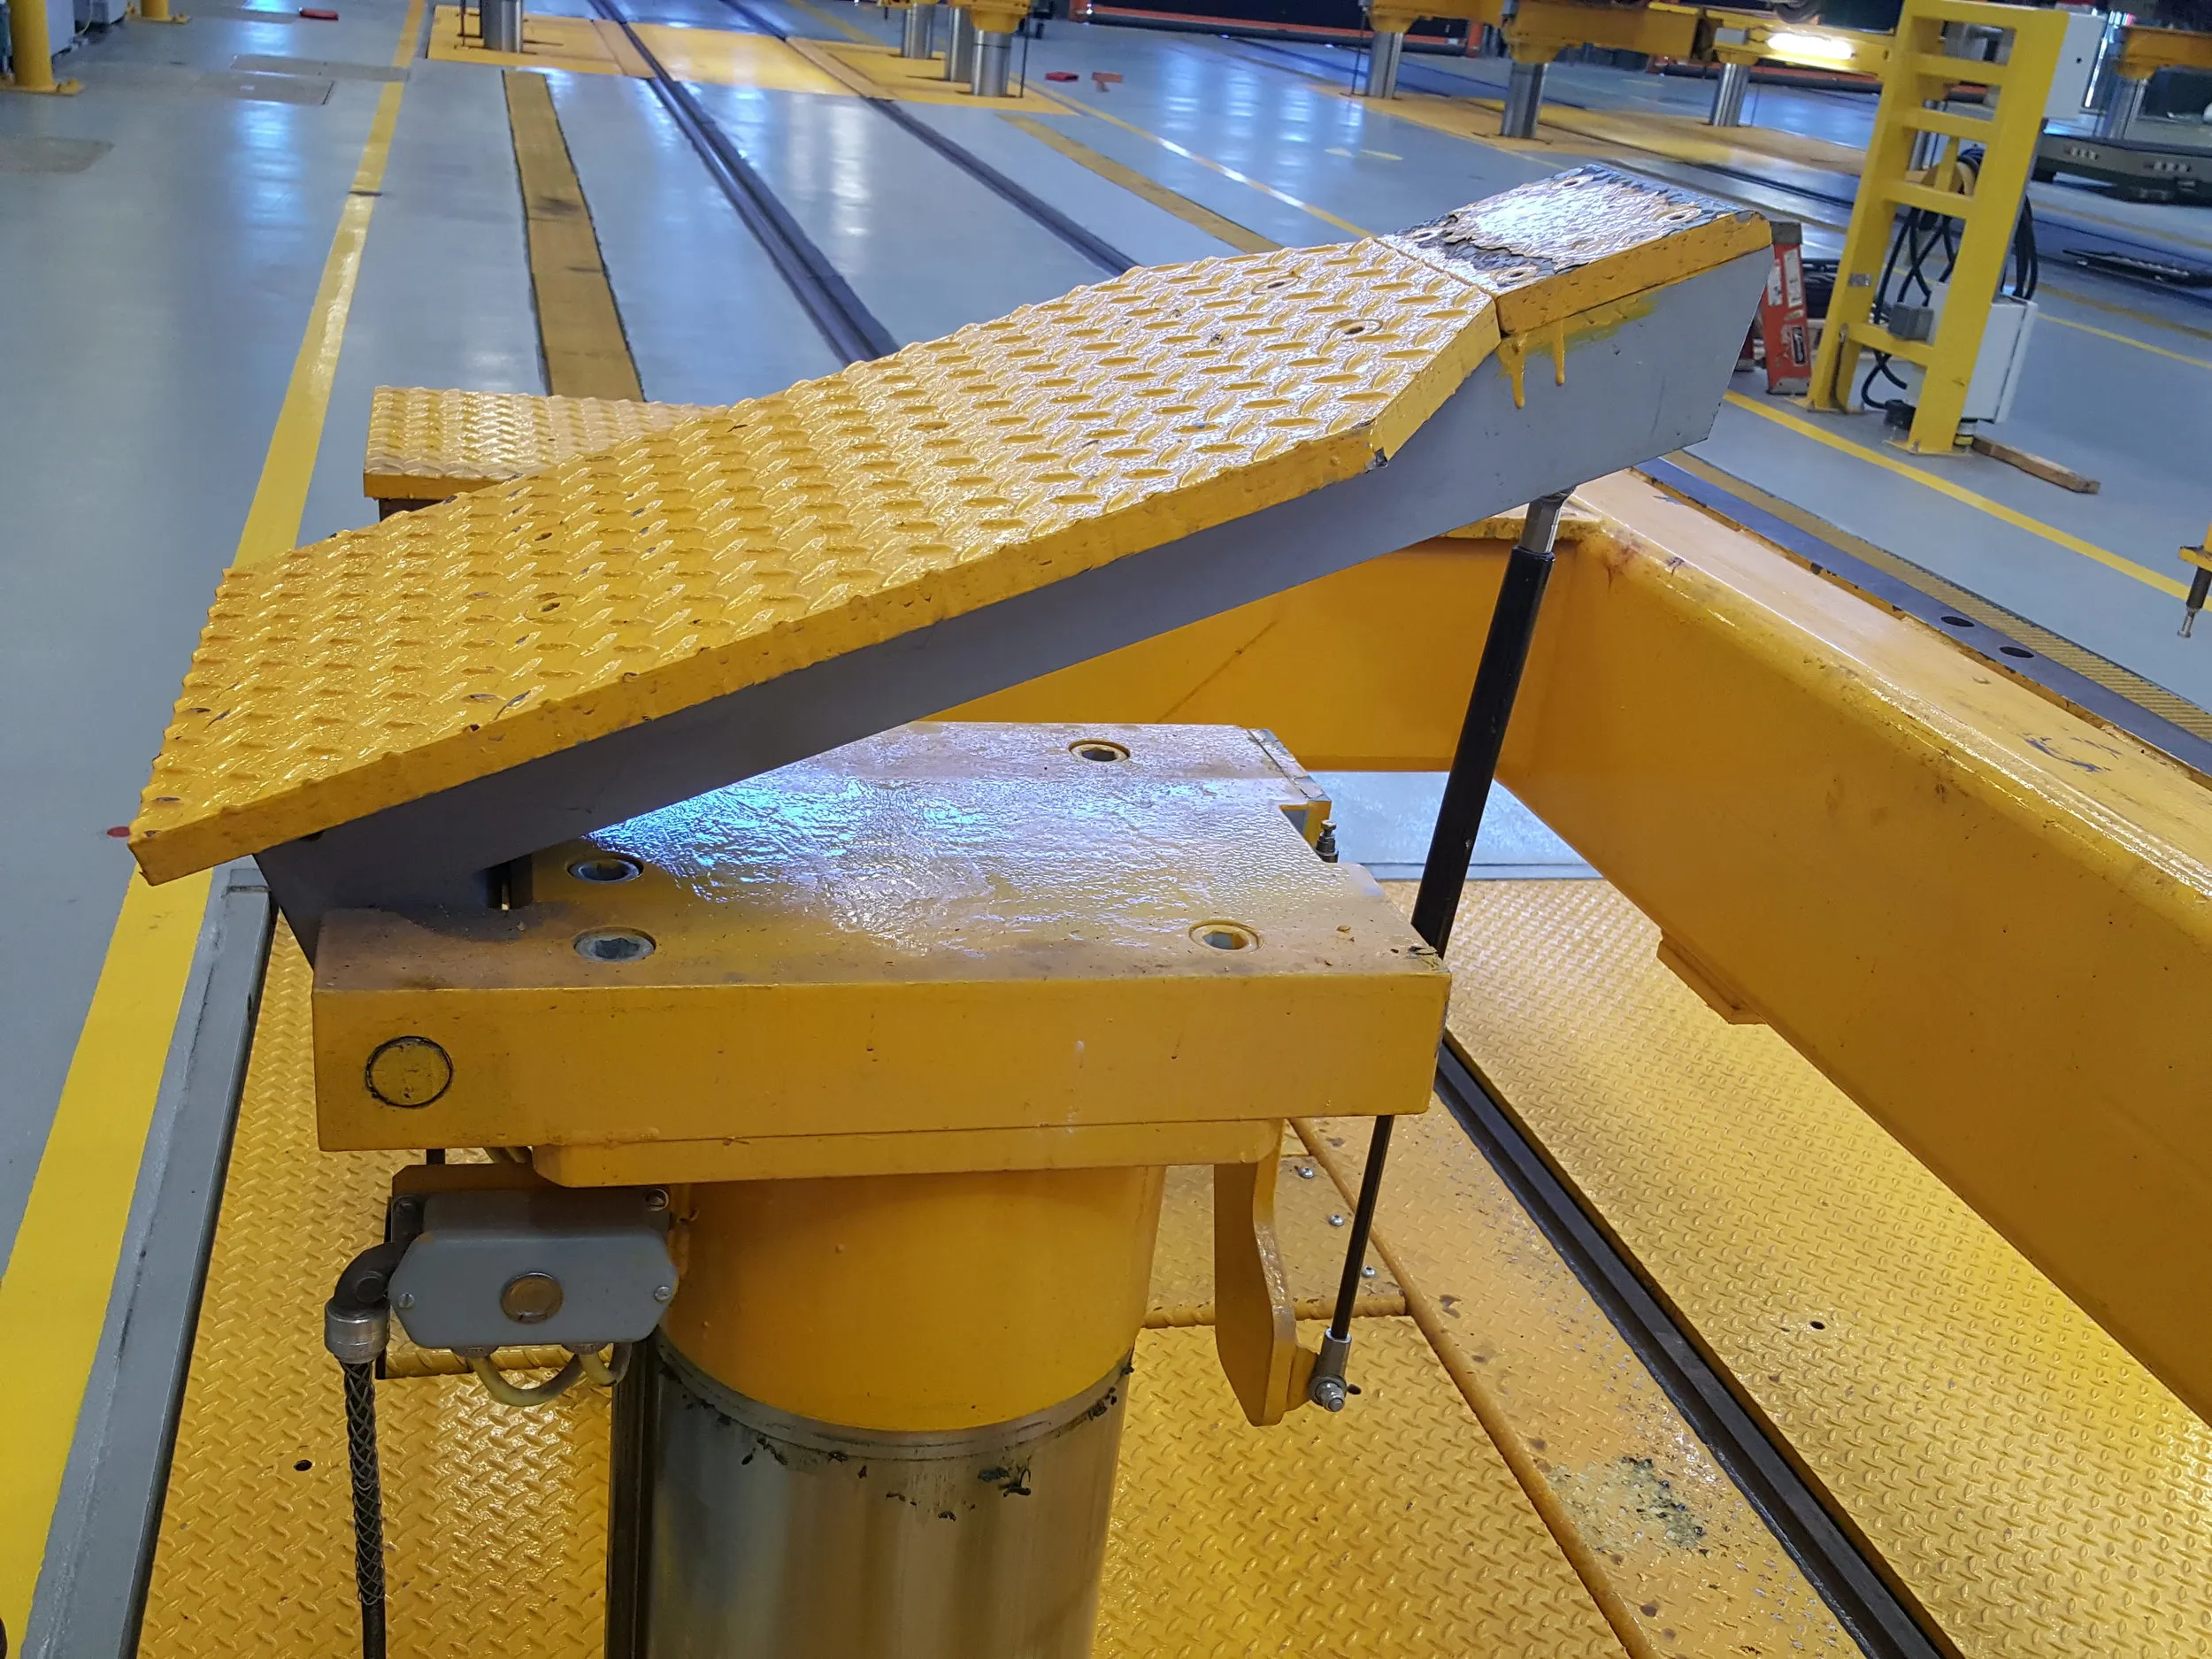
Constructing the Lifting Mechanism
The lifting mechanism is the heart of your diecast model car hoist, responsible for raising and lowering the model cars. The design of the lifting mechanism can vary, based on your preferences and available materials. A screw-driven system uses a threaded rod to raise or lower a platform. In this case, you will need to attach the rod to a platform. A pulley system uses ropes or cables and pulleys to multiply force, making it easier to lift heavy loads. If you use a motor, carefully install the motor and connect it to the lifting mechanism. Ensure that the lifting mechanism moves smoothly and efficiently. Test the lifting mechanism without any load. Ensure that all moving parts are well-lubricated to reduce friction and wear. The construction of the lifting mechanism demands precision and attention to detail to ensure that the hoist functions correctly and safely.
Adding the Support Structure

The support structure is a critical component of your diecast model car hoist, providing stability and strength to support the weight of the models. The design of the support structure will depend on the overall design of your hoist. It may include vertical supports, crossbeams, or a more complex framework. Attach the support structure to the base frame, ensuring that it is firmly secured. Use appropriate fasteners, such as screws, bolts, or welding. Make sure the support structure is aligned and level, which will prevent the hoist from tipping. Consider using reinforced materials or adding additional supports. If your design involves a cable or pulley system, ensure the support structure is strong enough to handle the tension. Check all connections to ensure they are secure and can withstand the load. A well-designed support structure is fundamental to the safety and functionality of your diecast model car hoist.
Attaching the Hoist to the Base
Once the base frame and lifting mechanism are complete, the next step is to attach the hoist to the base. The method of attachment depends on your design. You can use screws, bolts, or a combination of both. Make sure the attachment points are sturdy and secure, so the hoist does not become unstable. Verify the alignment of the hoist with the base frame. Correct any misalignments before tightening the fasteners. Double-check all connections to guarantee that the hoist is securely attached to the base. Once the hoist is attached, ensure the lifting mechanism operates correctly. The attachment process is an important step in creating a functional and safe diecast model car hoist, so pay close attention to detail and be sure that the connections are robust.
Safety Precautions
Safety is a top priority when building and operating a diecast model car hoist. Always wear safety glasses to protect your eyes from flying debris. Wear gloves to protect your hands. Use a dust mask to avoid inhaling any particles from cutting or sanding materials. Ensure your workspace is well-lit and ventilated. Keep the area clear of clutter and any tripping hazards. When operating the hoist, make sure no one is standing directly under it. Do not exceed the maximum weight capacity of the hoist. Regularly inspect the hoist for any signs of wear or damage. If any components are damaged, replace them immediately. Before each use, check all fasteners and connections to ensure they are secure. Always follow the manufacturer’s instructions for tools and equipment. Adhering to safety precautions will prevent accidents and ensure a safe and enjoyable experience while using your diecast model car hoist.
Testing Your Diecast Model Car Hoist

After completing the construction of your diecast model car hoist, it’s crucial to test it thoroughly to ensure that it functions correctly and safely. Begin by conducting a visual inspection of all components, looking for any loose parts or potential issues. Operate the hoist without any load, checking for smooth movement and any unusual noises. If you notice any problems, address them before continuing. Perform weight capacity testing. Start with a load that is lighter than the models. Gradually increase the weight to the maximum capacity. Check the hoist’s stability and structural integrity. Verify the safety features. Make sure the hoist stops if there are any obstructions. Make sure that the weight is distributed evenly on the platform. Keep an eye on the lifting mechanism and other components for any signs of stress. Testing your diecast model car hoist will provide confidence in its operation and identify any potential issues before using it with your valuable diecast models.
Weight Capacity Testing
Weight capacity testing is a critical part of ensuring the safety and functionality of your diecast model car hoist. Start by determining the maximum weight that your hoist is designed to lift. Begin testing with a weight significantly lower than the maximum capacity. Gradually increase the weight in increments, monitoring the hoist’s performance and stability. Use calibrated weights to ensure accuracy. Monitor the lifting mechanism, support structure, and base frame for any signs of stress or distortion. During testing, pay close attention to the hoist’s behavior, ensuring it moves smoothly without any binding or jerking. If the hoist shows any signs of instability or struggles to lift the weight, reduce the load and re-evaluate the design. Document the results of your weight capacity testing, including the maximum weight lifted and any observations made. These tests ensure that your hoist can safely handle the weight of the diecast model cars.
Operational Checks
Conducting operational checks is essential to confirm that your diecast model car hoist operates safely and effectively. Inspect all the moving parts, such as the lifting mechanism, pulleys, and cables, for any signs of wear or damage. Lubricate all moving parts with the appropriate lubricant to reduce friction and ensure smooth operation. Check the controls (switches, buttons, or levers) for proper functionality. Make sure the hoist responds correctly to each control input. Verify the stability of the hoist during operation. Watch for any swaying or tipping. Ensure that the platform moves smoothly up and down without any binding. Listen for any unusual noises, such as grinding or squeaking, which could indicate a problem. Check all safety features, such as limit switches and emergency stops. Make sure they function correctly. Perform multiple operational checks with a moderate load to ensure it operates reliably. By performing regular operational checks, you can maintain the optimal performance of your diecast model car hoist.
Enhancing the Hoist
After building and testing your diecast model car hoist, you can enhance it to improve its functionality and aesthetics. Adding lighting to the hoist can enhance visibility, especially in dim environments. Consider installing LED lights, which are energy-efficient and provide adequate illumination. Adding details like miniature ramps, signs, or workshop tools can increase the realism of your hoist. You can also customize the hoist with a paint job. Choose colors that match your collection or create a themed design. Consider adding a remote control system to operate the hoist from a distance. This enhances convenience and allows for easier operation. Incorporate safety features, such as sensors that detect obstructions or automatic shut-off mechanisms. Ensure any added features are compatible with the hoist’s design and that they do not compromise safety. Enhancing your hoist allows you to enjoy it even more, making it an excellent addition to your collection.
Adding Detail and Realism
Adding detail and realism to your diecast model car hoist can make it stand out and complement your model car collection. Begin by selecting appropriate materials. You can use small pieces of wood, plastic, or metal to create miniature ramps, tools, or signage. Paint the hoist to resemble a real-life hoist. Choose colors that match the style of the cars you collect. Add realistic accessories to your hoist. Place miniature tools, workbenches, or even a small car mechanic figurine near the hoist. Consider adding weathering effects to the hoist. This can simulate the look of use. Apply washes, dry brushing, or other techniques to add a sense of age and realism. Research real-life hoists for inspiration. You can find detailed images and videos to guide your customization efforts. Ensure any details you add don’t interfere with the hoist’s functionality. Adding detail and realism will enhance the look of your hoist.
Painting and Finishing
Painting and finishing your diecast model car hoist gives it a professional look and protects the materials. Begin by sanding the surface of the hoist to remove any imperfections and ensure that the paint adheres well. Clean the surface thoroughly to remove dust, grease, and other contaminants. Apply a primer to the surfaces. This will create a base for the paint. Choose paint. Consider using spray paint or brush-on paint, depending on the level of detail you want to achieve. Apply multiple thin coats of paint, allowing each coat to dry before applying the next. Once the paint is dry, add any additional details or decals to the surface. Apply a clear coat to protect the paint and add shine. Apply a clear coat for additional protection. Clean up the workspace and properly dispose of any used materials. Proper painting and finishing enhance the aesthetics of the diecast model car hoist.
Troubleshooting Common Issues

When building and using a diecast model car hoist, you may encounter some common issues. Here are some tips to resolve them. If the hoist doesn’t lift properly, check the lifting mechanism for any obstructions, such as a jammed screw or tangled cable. Make sure the motor is working correctly and receiving power. If the motor is struggling, it may be overloaded. If the hoist is unstable, ensure that the base is level and that the support structure is adequately secured. Check all connections and fasteners for tightness. If the platform is not moving smoothly, lubricate all moving parts. If the hoist is making excessive noise, check for loose parts or friction. Tighten screws or replace any worn components. Always inspect all components before each use to catch problems early. Troubleshooting will ensure your hoist runs safely.
Hoist Won’t Lift Properly
If your diecast model car hoist won’t lift properly, follow these steps to troubleshoot the issue. First, check the weight of the diecast model cars. Make sure the weight doesn’t exceed the hoist’s capacity. Inspect the lifting mechanism for any obstructions. Make sure that the screw, cable, or other lifting components are moving freely. Check that the motor is receiving power and functioning correctly. If the motor is running but the hoist is not lifting, it may be overloaded. Ensure that the lifting mechanism is properly attached to the base and platform. If the cables are frayed or damaged, replace them. Lubricate all moving parts to reduce friction. If the problem persists, re-examine your design and construction for any potential flaws or weaknesses. Take your time, and perform a systematic inspection. By systematically checking each element, you can identify the source of the problem.
Instability Issues
Instability is a dangerous issue with diecast model car hoists. If your hoist is unstable, take immediate action. Check that the base frame is level and firmly secured. If the base is not level, adjust it by adding shims or placing it on a stable surface. Make sure the support structure is strong enough and properly attached to the base frame. Check that all connections and fasteners are tight. If the hoist is tilting, reposition the load to distribute the weight more evenly. Avoid placing too much weight on one side of the platform. Inspect the lifting mechanism for any issues that could contribute to instability, such as a loose cable or a worn component. Ensure that the hoist is being operated within its weight capacity and design limits. A stable hoist is essential for safety and will prevent potential accidents.
Maintenance Tips for Your Diecast Model Car Hoist
Regular maintenance is essential to ensure your diecast model car hoist functions correctly and lasts a long time. Develop a maintenance schedule and stick to it. Cleaning and lubrication are essential. Keep the hoist clean and free of dust, dirt, and debris. Lubricate all moving parts to reduce friction and wear. Inspect the hoist regularly for any signs of damage. Replace any worn or damaged parts immediately. Tighten any loose fasteners. Check the cables, chains, and other lifting components for wear. Store the hoist in a clean, dry environment when not in use. Regular maintenance extends the lifespan of your hoist, making it a valuable addition to your collection. Perform scheduled maintenance to keep your hoist in top condition and maximize its operational life.
Cleaning and Lubrication
Cleaning and lubrication are key components of maintaining your diecast model car hoist. Regularly clean the hoist with a soft cloth or brush to remove dust, dirt, and debris. Wipe down the surfaces to prevent buildup and maintain a clean appearance. Lubricate all moving parts of the hoist. Use a suitable lubricant, such as machine oil or a silicone-based lubricant. Apply the lubricant to moving parts, such as gears, screws, and pulleys, to reduce friction and prevent wear. Ensure that the lubricant is evenly distributed. Follow the manufacturer’s recommendations for cleaning and lubrication to ensure optimal performance. Cleaning and lubrication are simple tasks that can significantly extend the life of your diecast model car hoist.
Storage and Preservation
Proper storage and preservation are crucial for maintaining the condition of your diecast model car hoist when it’s not in use. Store your hoist in a clean, dry environment. This will help prevent rust, corrosion, and other forms of damage. If possible, cover the hoist to protect it from dust and debris. Apply a protective coating, such as wax or a rust inhibitor, to metal parts. This protects them from corrosion. Inspect the hoist periodically to make sure it is in good condition. If you find any problems, address them immediately. Ensure that any protective coatings are reapplied as needed. Proper storage and preservation will extend the lifespan of your hoist.