Choosing Your Harley Davidson Model Kit
Embarking on a journey to build a Harley Davidson diecast model kit is an exciting venture. Before you begin, the first crucial step is selecting the right kit. This decision hinges on several factors, including your experience level, desired level of detail, and the specific Harley Davidson model you wish to replicate. Researching different manufacturers and reading reviews can provide valuable insights into the quality and complexity of various kits. Consider what kind of build you are looking for. Are you seeking a quick and easy project or a detailed, time-consuming masterpiece? The answers to these questions will guide your kit selection, setting the stage for a rewarding modeling experience. This initial step ensures you’re well-prepared to dive into the world of miniature motorcycle construction.
Scale and Detail
Scale and detail are paramount considerations when selecting a Harley Davidson diecast model kit. The scale of the model, which refers to its size relative to the real motorcycle, significantly impacts the overall appearance and complexity of the build. Common scales include 1 12, 1 18, and 1 6, with smaller scales offering a more compact build and larger scales providing more intricate detail. Detail level refers to the accuracy and complexity of the model’s components. Some kits feature highly detailed engines, suspensions, and other elements, while others offer a more simplified approach. The detail level directly influences the realism of the finished model and the challenge of the build. Matching the scale and detail level to your skill and patience will lead to a satisfying modeling experience.
Popular Scales
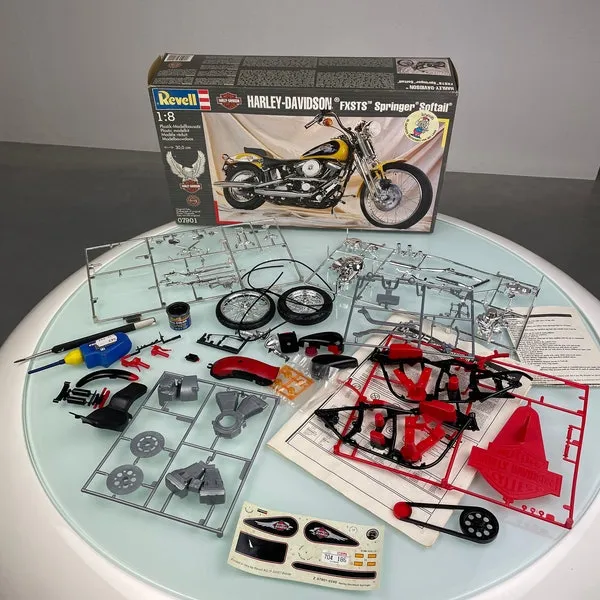
The most popular scales for Harley Davidson diecast model kits include 1 12 and 1 18. The 1 12 scale strikes a balance between size and detail, making it an ideal choice for many modelers. These models are large enough to showcase intricate details, yet not so large as to require excessive space for display. The 1 18 scale kits are generally smaller, making them easier to store and potentially more affordable. This scale can still offer a reasonable level of detail, making them accessible to a wider range of modelers, and providing a faster build. These scales offer a great starting point for enthusiasts looking to build their first Harley Davidson model.
Detail Level
The detail level in Harley Davidson model kits varies widely, catering to modelers of all experience levels. Entry-level kits often feature simplified components and snap-together designs, ideal for beginners. These kits prioritize ease of assembly, allowing modelers to quickly achieve a finished product. More advanced kits provide a higher level of detail, including separately molded engine components, detailed wiring, and intricate bodywork. These kits challenge experienced modelers and offer a more realistic representation of the Harley Davidson motorcycle. Choosing the appropriate detail level is essential to ensure a fulfilling and enjoyable modeling experience.
Tools and Materials Needed
Building a Harley Davidson diecast model kit requires a selection of essential tools and materials. While the specific requirements may vary depending on the kit, certain items are consistently needed for a successful build. These include a sharp hobby knife or modeling saw for removing parts from the sprue, various types of glues, such as plastic cement and super glue, for assembling the components, and paints, brushes, and airbrushes for painting the model. In addition to these basics, you may also need tools for sanding, filing, and detailing, such as fine-grit sandpaper, files, and tweezers. A well-equipped workspace ensures you can accurately assemble the model and achieve a professional finish. Careful selection of these tools and materials lays the groundwork for a detailed and enjoyable modeling process.
Essential Tools
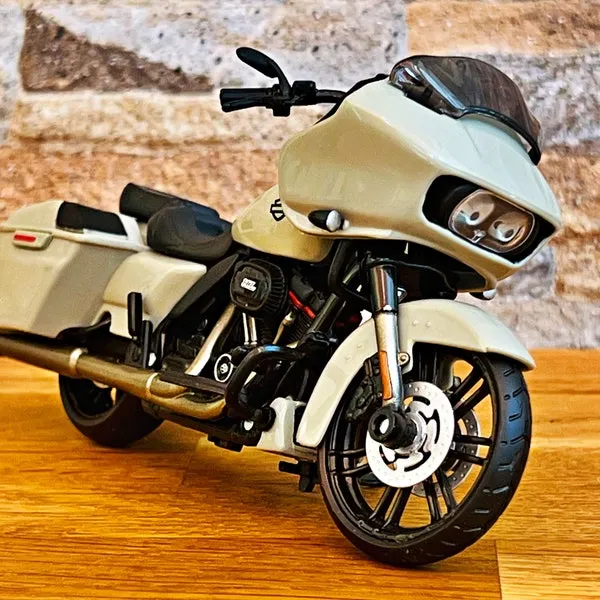
A set of essential tools is crucial for successfully building a Harley Davidson diecast model kit. A sharp hobby knife, often with replaceable blades, is essential for carefully removing parts from the sprue (the plastic frame that holds the parts). A set of small files and sanding sticks is used to smooth edges, remove imperfections, and ensure parts fit together seamlessly. Tweezers are indispensable for handling small parts, such as decals and wiring. A cutting mat protects your work surface and provides a stable base for cutting and assembling the model. These tools contribute to precision and efficiency, leading to a cleaner, more professional build. Investing in quality tools will significantly improve the overall modeling experience.
Paints and Finishes
Choosing the right paints and finishes is critical to achieving a realistic and visually appealing Harley Davidson diecast model. Acrylic paints are a popular choice due to their ease of use, quick drying time, and availability in a wide range of colors. Enamel paints offer a durable, glossy finish but require more time to dry. When painting, use a combination of brushes, airbrushes, and weathering techniques to achieve the desired effects. Primer is essential to prepare the plastic surfaces for painting. Clear coats protect the paint and add a glossy or matte finish, depending on your preference. A proper selection of paints and finishes, along with effective painting techniques, will greatly enhance the final appearance of your model.
Step-by-Step Assembly Guide
Building a Harley Davidson diecast model kit involves a series of carefully executed steps. The assembly process begins with carefully removing the parts from the sprue and preparing them for assembly. Following the kit’s instructions is crucial, and dry-fitting parts before applying glue is recommended to ensure proper alignment. The engine is often one of the first components to be assembled, and detailed construction of this central element is a hallmark of many Harley Davidson models. Then the frame is constructed, followed by the body panels and accessories. Patience, attention to detail, and a structured approach are vital to a successful build. Carefully following each step, checking for fit, and using the proper glues are essential for a rewarding result.
Preparing the Parts
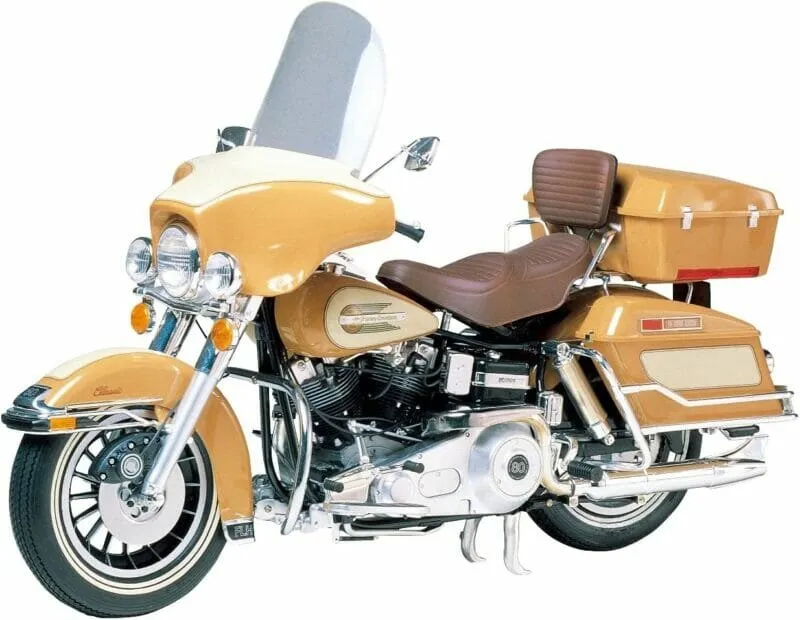
Preparing the parts is the first and most important step in the assembly process. Carefully remove each part from the sprue using a sharp hobby knife, taking care not to damage the components. Clean up any remaining plastic from the attachment points using a file or sanding stick. Dry-fitting the parts is crucial before applying glue to ensure proper alignment and fit. Some modelers choose to wash the parts with mild soap and water to remove any mold release agents that could affect paint adhesion. Taking your time during this preliminary phase ensures a smoother and more accurate assembly, laying the foundation for a well-crafted model.
Assembling the Engine
The engine is often the most detailed and challenging part of a Harley Davidson model kit. Meticulously assemble the engine components, referring to the instructions for guidance. Pay close attention to aligning the cylinders, crankcase, and other parts correctly. Some modelers choose to paint the engine parts before assembly to simplify the process and enhance the details. Using the correct glue for each component is essential, often requiring plastic cement for larger parts and super glue for smaller, more delicate components. The engine is often the heart of the model, and taking your time to construct it carefully will yield a stunning and realistic result.
Constructing the Frame
Constructing the frame is an essential step that gives the model its structural integrity. The frame usually involves multiple pieces that fit together to create the basic chassis of the motorcycle. Ensure proper alignment of frame components, often using jigs or templates provided in the kit. Be mindful of the glue, using the appropriate type for plastic or metal parts. After the glue has set, check for any gaps or misalignments. Correct them before moving on to the next steps. A solid and accurately built frame is critical for the final model’s structural stability and appearance. Ensure that the frame is square and true for a precise finish.
Building the Body
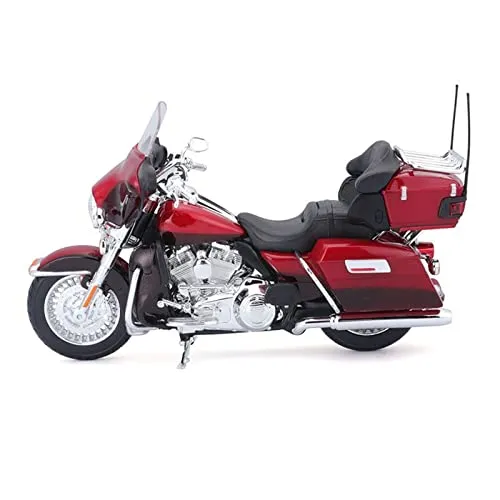
Building the body involves constructing the fuel tank, fenders, fairings, and other exterior elements of the Harley Davidson model. Carefully attach the body panels to the frame, making sure they align correctly with the rest of the structure. The bodywork is a major visual element of the model, and accuracy in this stage greatly affects the final appearance. Use clamps or tape to hold the body panels in place while the glue sets, preventing any shifting or misalignment. Test-fit the body panels and check the fit before applying glue. This process ensures a smooth, seamless finish for a realistic representation of the motorcycle.
Adding Details and Finishing Touches
Adding details and finishing touches transforms a model from a collection of parts into a realistic miniature replica. Decals, graphics, and weathering techniques add visual interest and bring the model to life. The decals often represent logos, emblems, and other markings, which significantly enhances the model’s authenticity. Weathering techniques simulate the effects of wear and tear, dirt, and grime, adding realism. Attention to detail and patience are crucial when applying these finishing touches. These details are what make the model truly stand out and become a conversation piece. Taking your time during this final stage ensures a polished and professional result.
Decals and Graphics
Applying decals and graphics is an art in itself and an important part of the finishing process. Carefully cut each decal from the sheet, trimming around the edges. Soak the decals in warm water for the recommended time, allowing the adhesive to activate. Position the decal accurately on the model, using tweezers or a soft brush. Once the decal is in place, gently smooth out any air bubbles with a soft cloth or cotton swab. Apply setting solutions and softening solutions to help the decals conform to the surface and settle into recesses. Protective clear coats can be used over decals to seal them and add durability.
Weathering Techniques
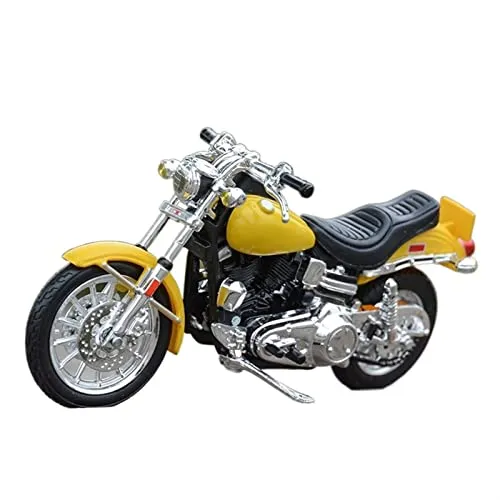
Weathering techniques add a layer of realism to your model by simulating the effects of age, use, and environmental exposure. These techniques can range from applying washes and dry brushing to using pigments and weathering powders. Washes involve applying a diluted paint mixture to crevices and details, accentuating shadows and adding depth. Dry brushing uses a dry brush with a small amount of paint to highlight raised surfaces and edges, creating a worn appearance. Pigments and weathering powders can be used to simulate dust, dirt, and rust. Experiment with different weathering techniques to achieve the desired level of realism. Mastering these methods can significantly enhance the authenticity of your Harley Davidson model.
Displaying Your Harley Davidson Model
Displaying your completed Harley Davidson model is a rewarding way to showcase your craftsmanship. Carefully consider the display location, ensuring it is well-lit and protected from dust and direct sunlight. You can choose to display your model on a shelf, in a display case, or on a custom-built base. A well-chosen display enhances the model’s visual impact and protects it from damage. Taking the time to set up an attractive presentation is the final step in creating a lasting tribute to your hard work and passion for model building.
Showcasing Your Build
Showcasing your finished Harley Davidson model involves more than just placing it on a shelf. Consider the background, lighting, and overall presentation. You can create a diorama to place your model into a realistic setting or use a simple base to highlight the model’s details. Experiment with different angles and lighting to capture the best views of your model. Consider taking high-quality photographs of your finished model to share your work and preserve its beauty. Showcasing your build is a satisfying way to share your passion and celebrate your accomplishment.
Protecting Your Model
Protecting your model from dust, damage, and environmental factors is crucial. Display your model in a location away from direct sunlight to prevent fading and discoloration. Dust can accumulate over time, so consider using a display case or regularly dusting the model with a soft brush. Handle your model carefully to prevent accidental damage. You can also apply a protective clear coat to the model to further enhance its durability. By taking these steps, you can ensure that your Harley Davidson model remains in pristine condition for years to come, allowing you to enjoy your work for a long time.
